![]()
![]()
|
|
|
|
1972 Porsche 914Repair and Restoration - Part 6 - Hell HoleIt should be noted that a lot of work in this area is also documented in...
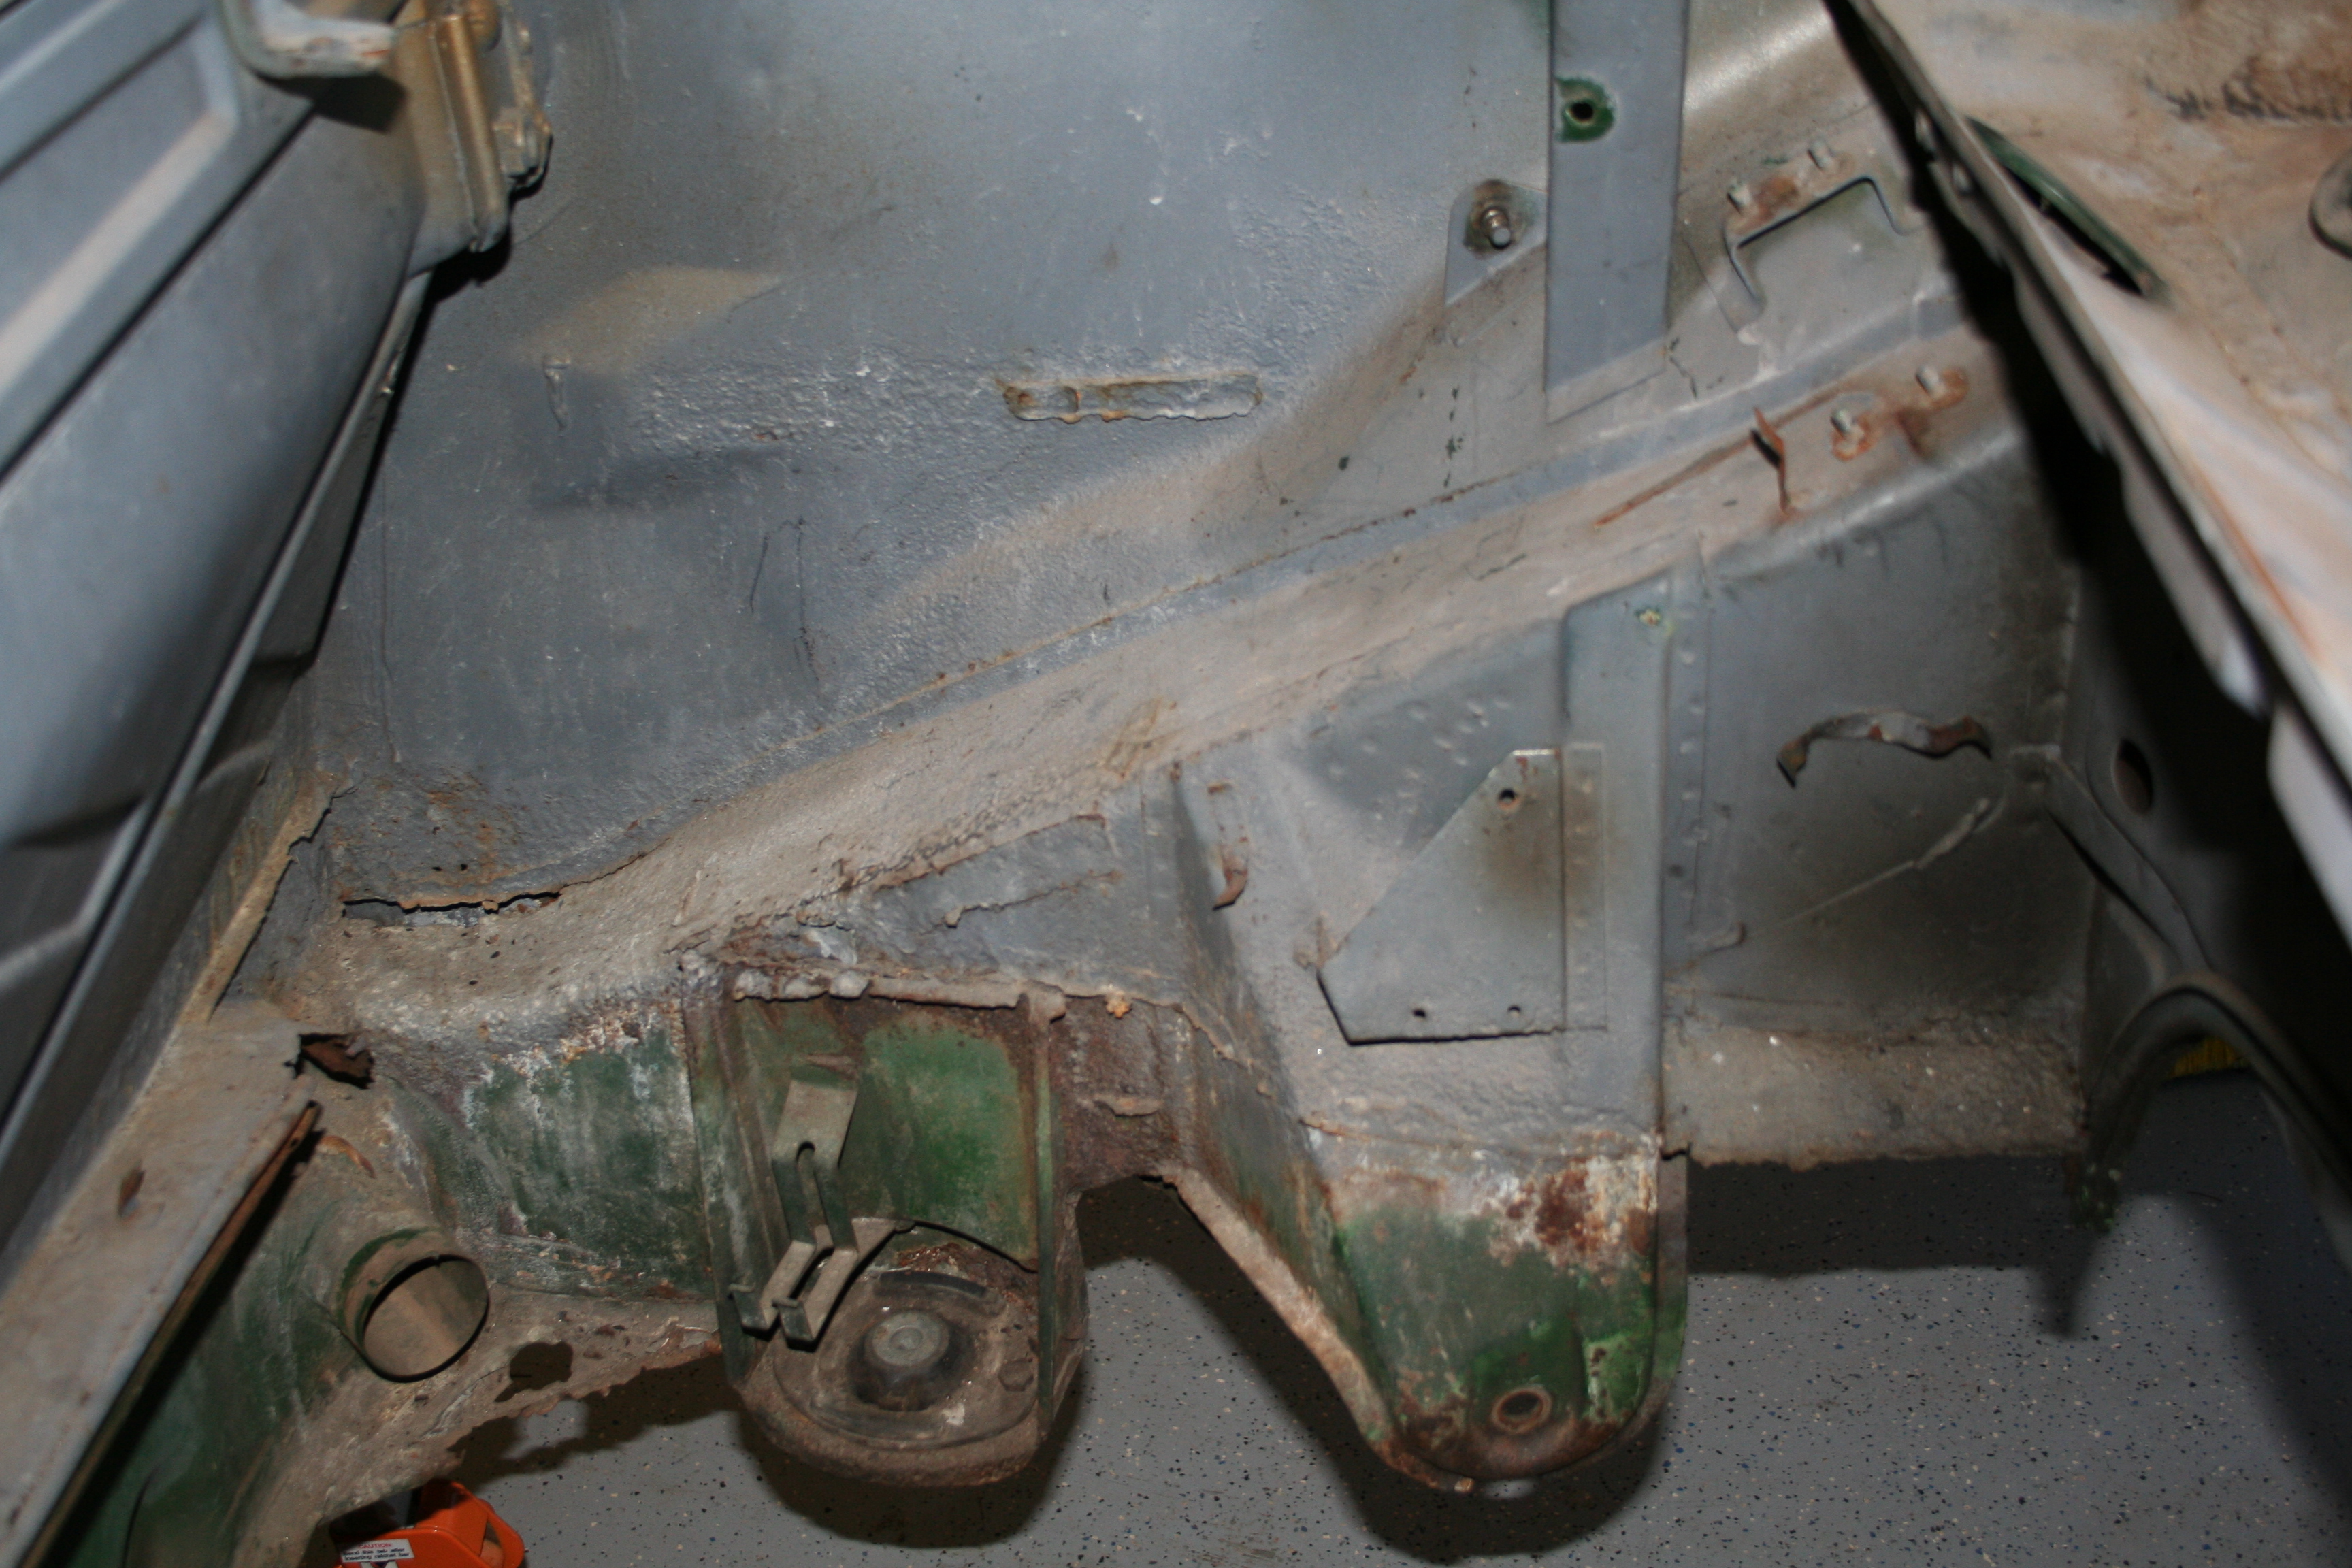
6/29/2007Before the work begins
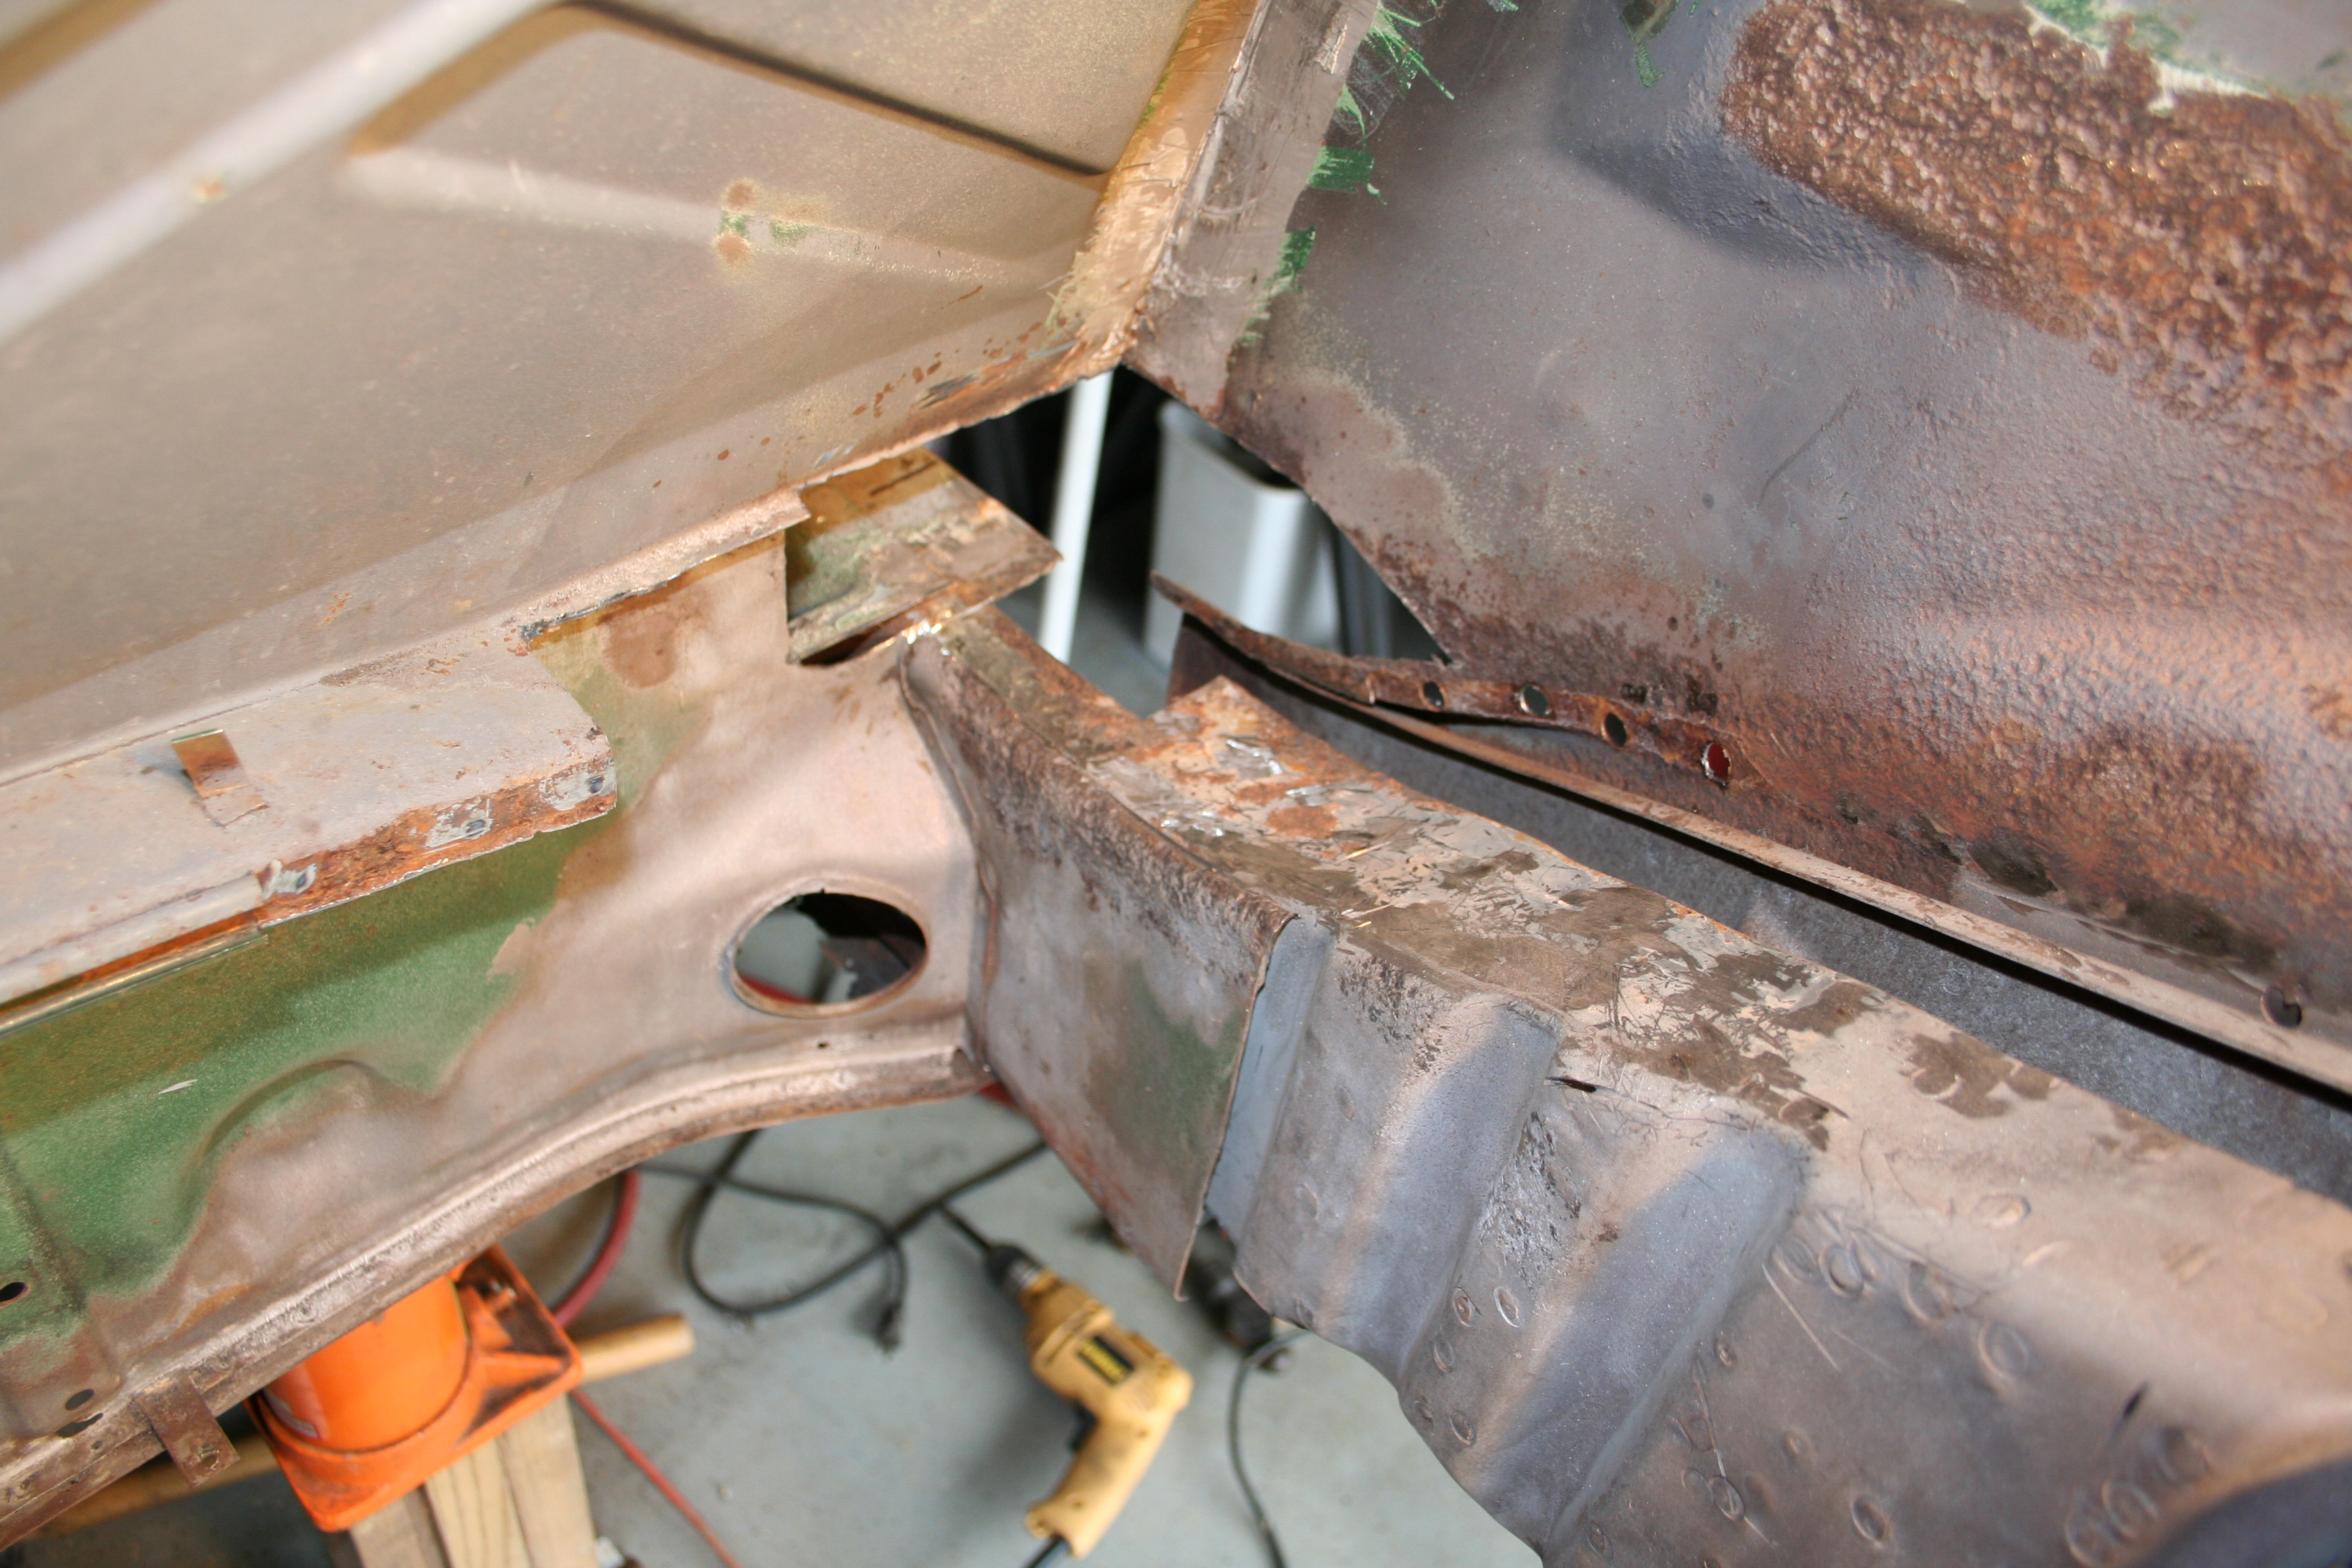
10/25/2007Motor mount and inner suspension console mostly removed.
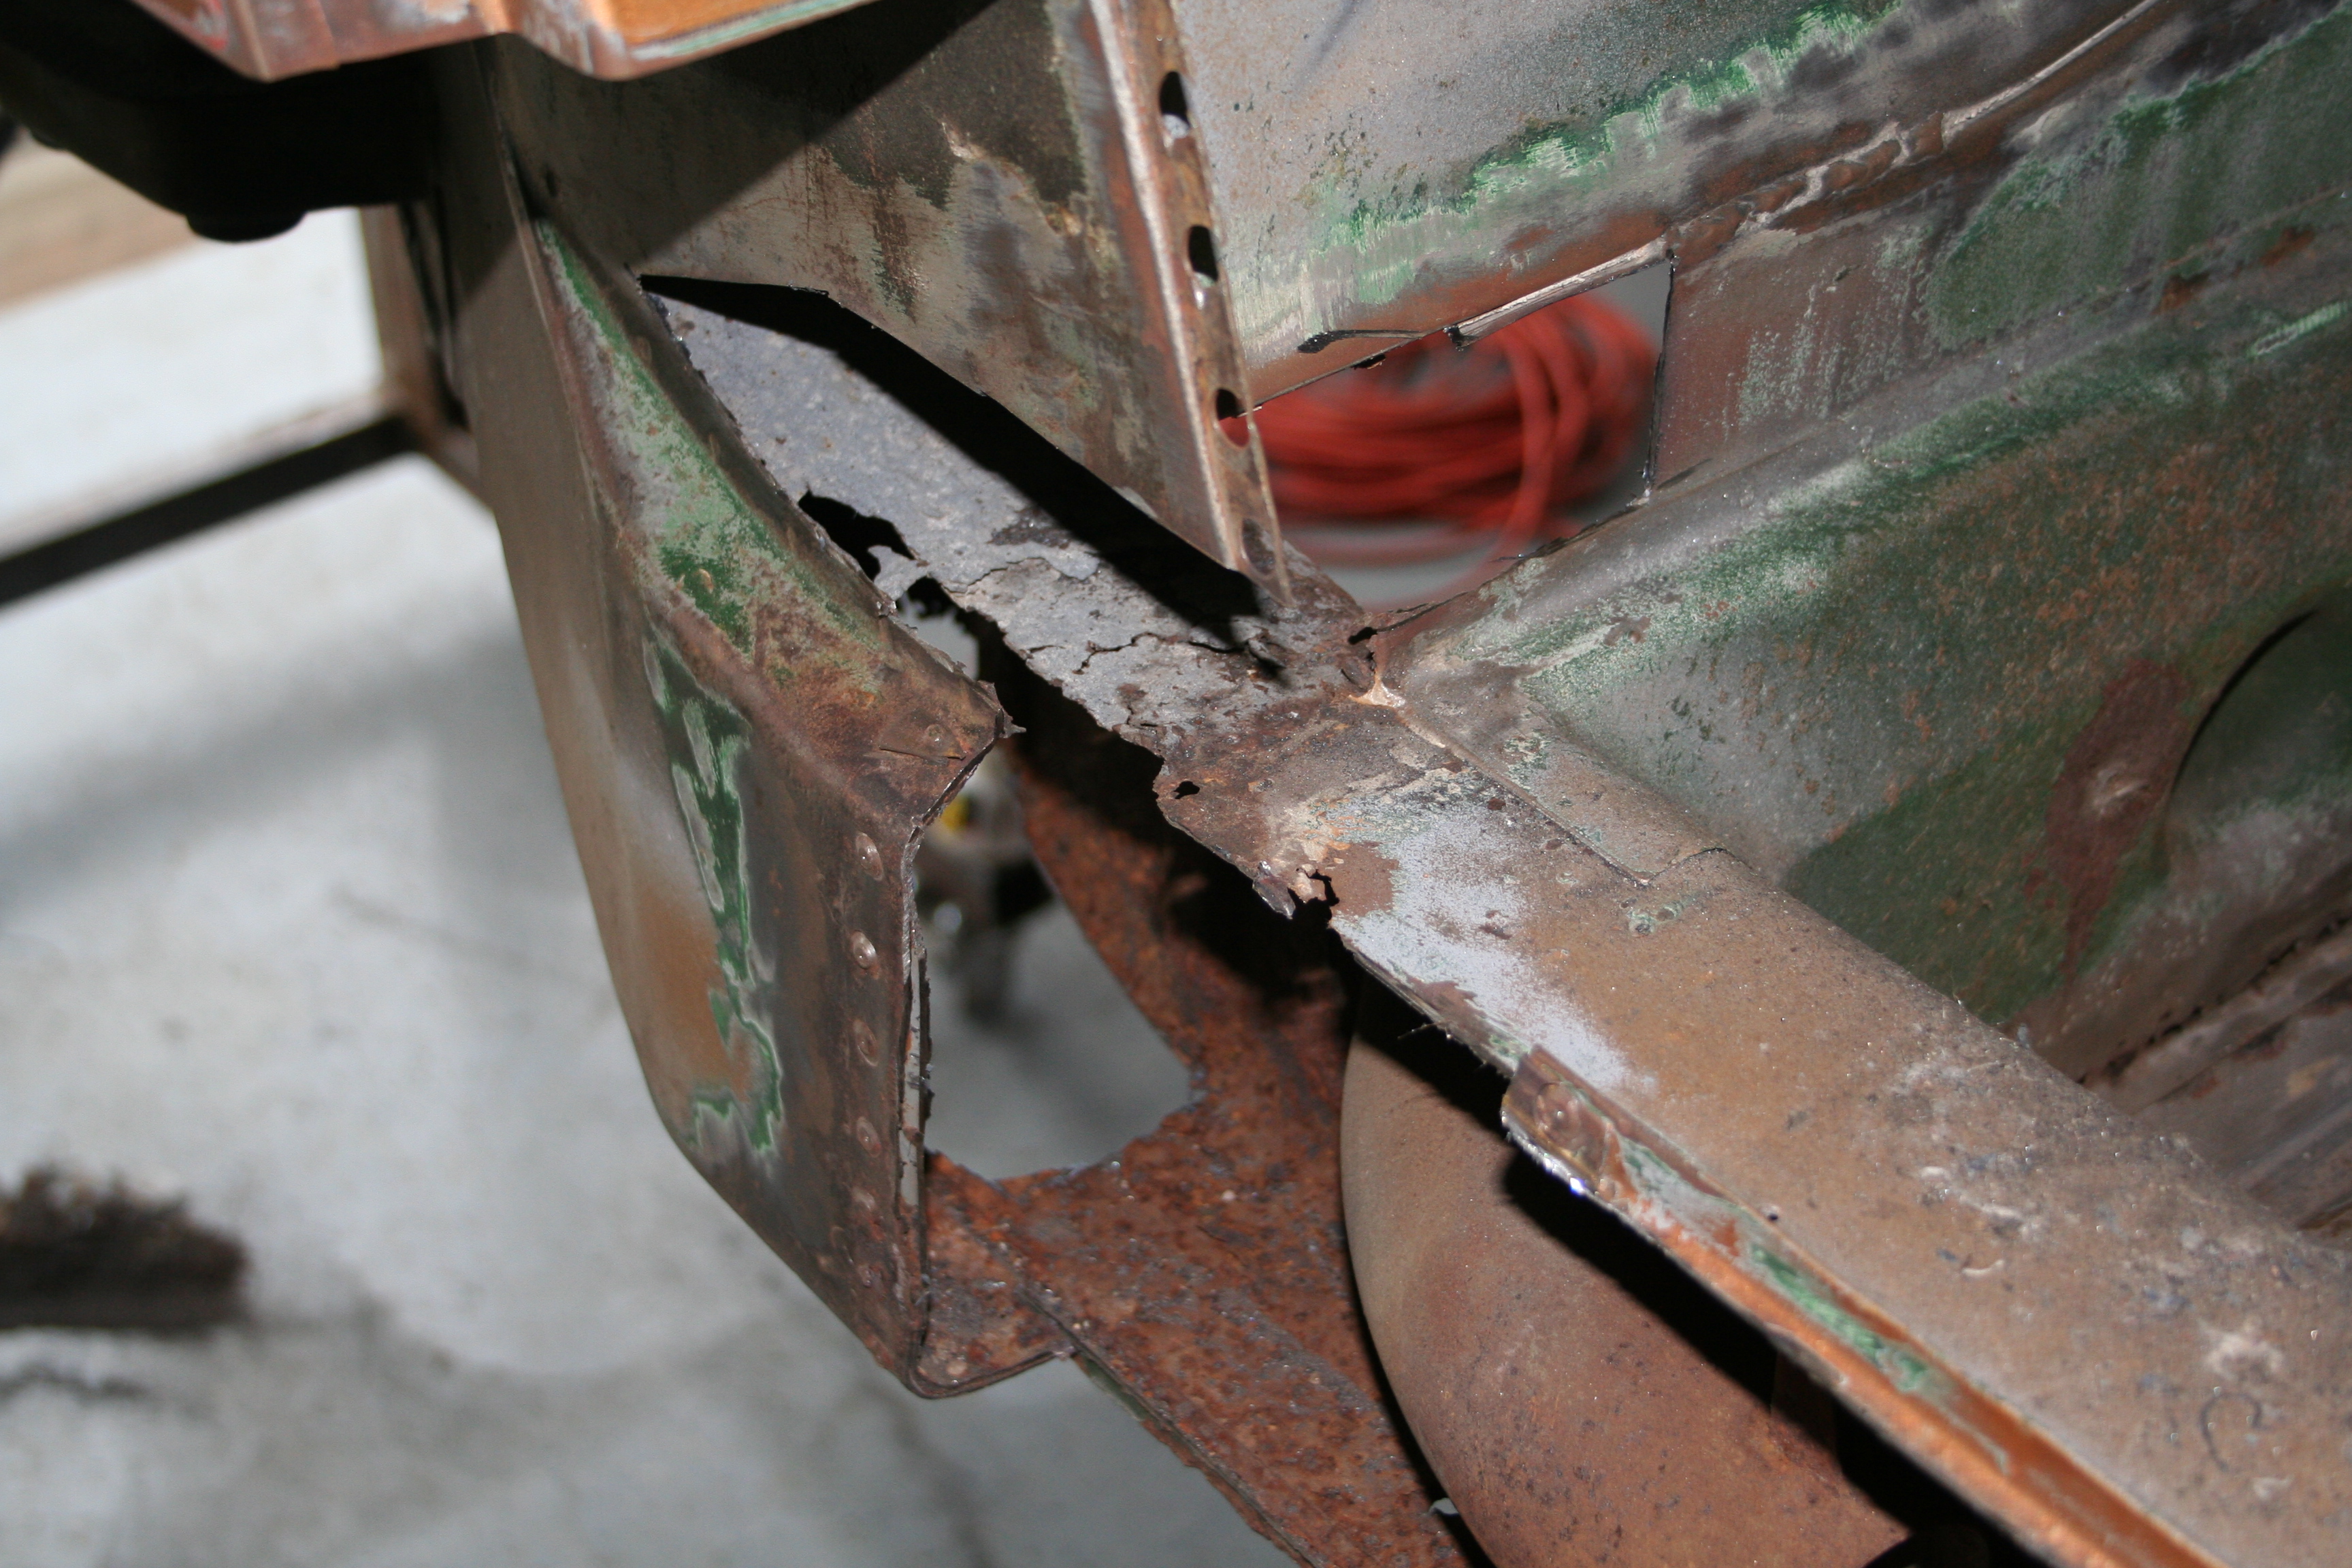
Note rust pinholes on inner longitudinal. How bad with this be inside?
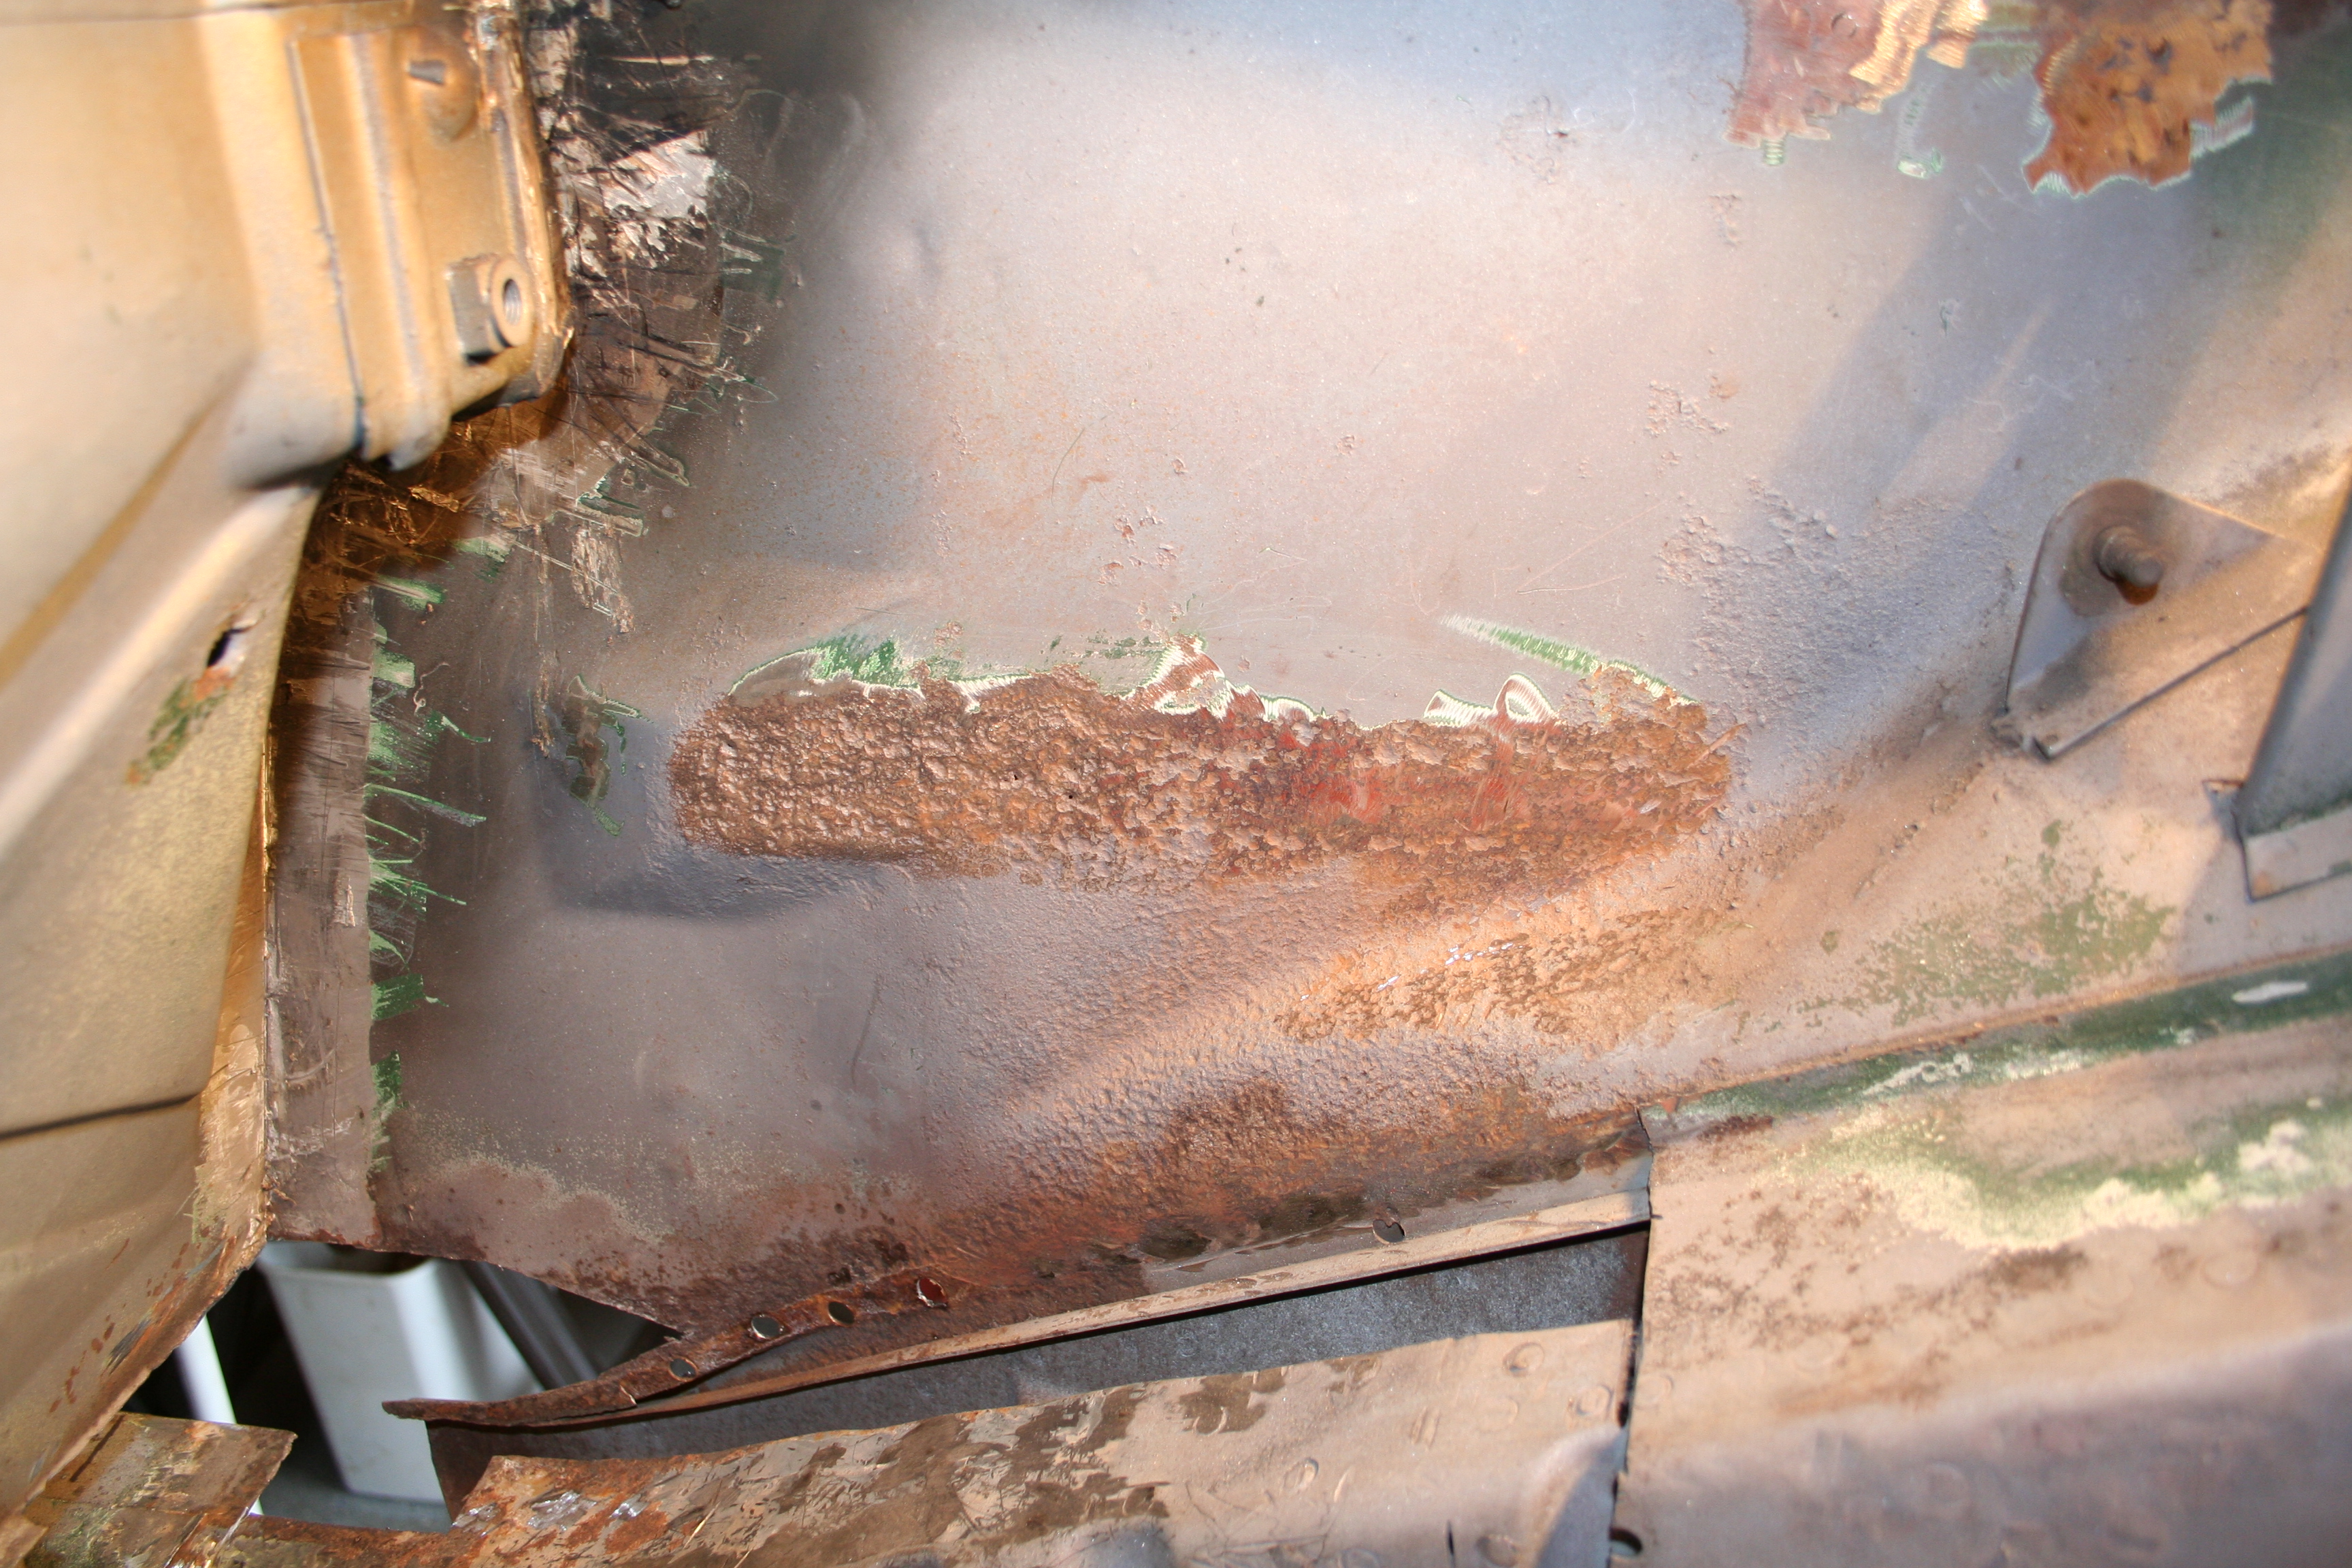
Typical firewall rust. It seems every Hell hole repair I see has this exact same rust pattern.
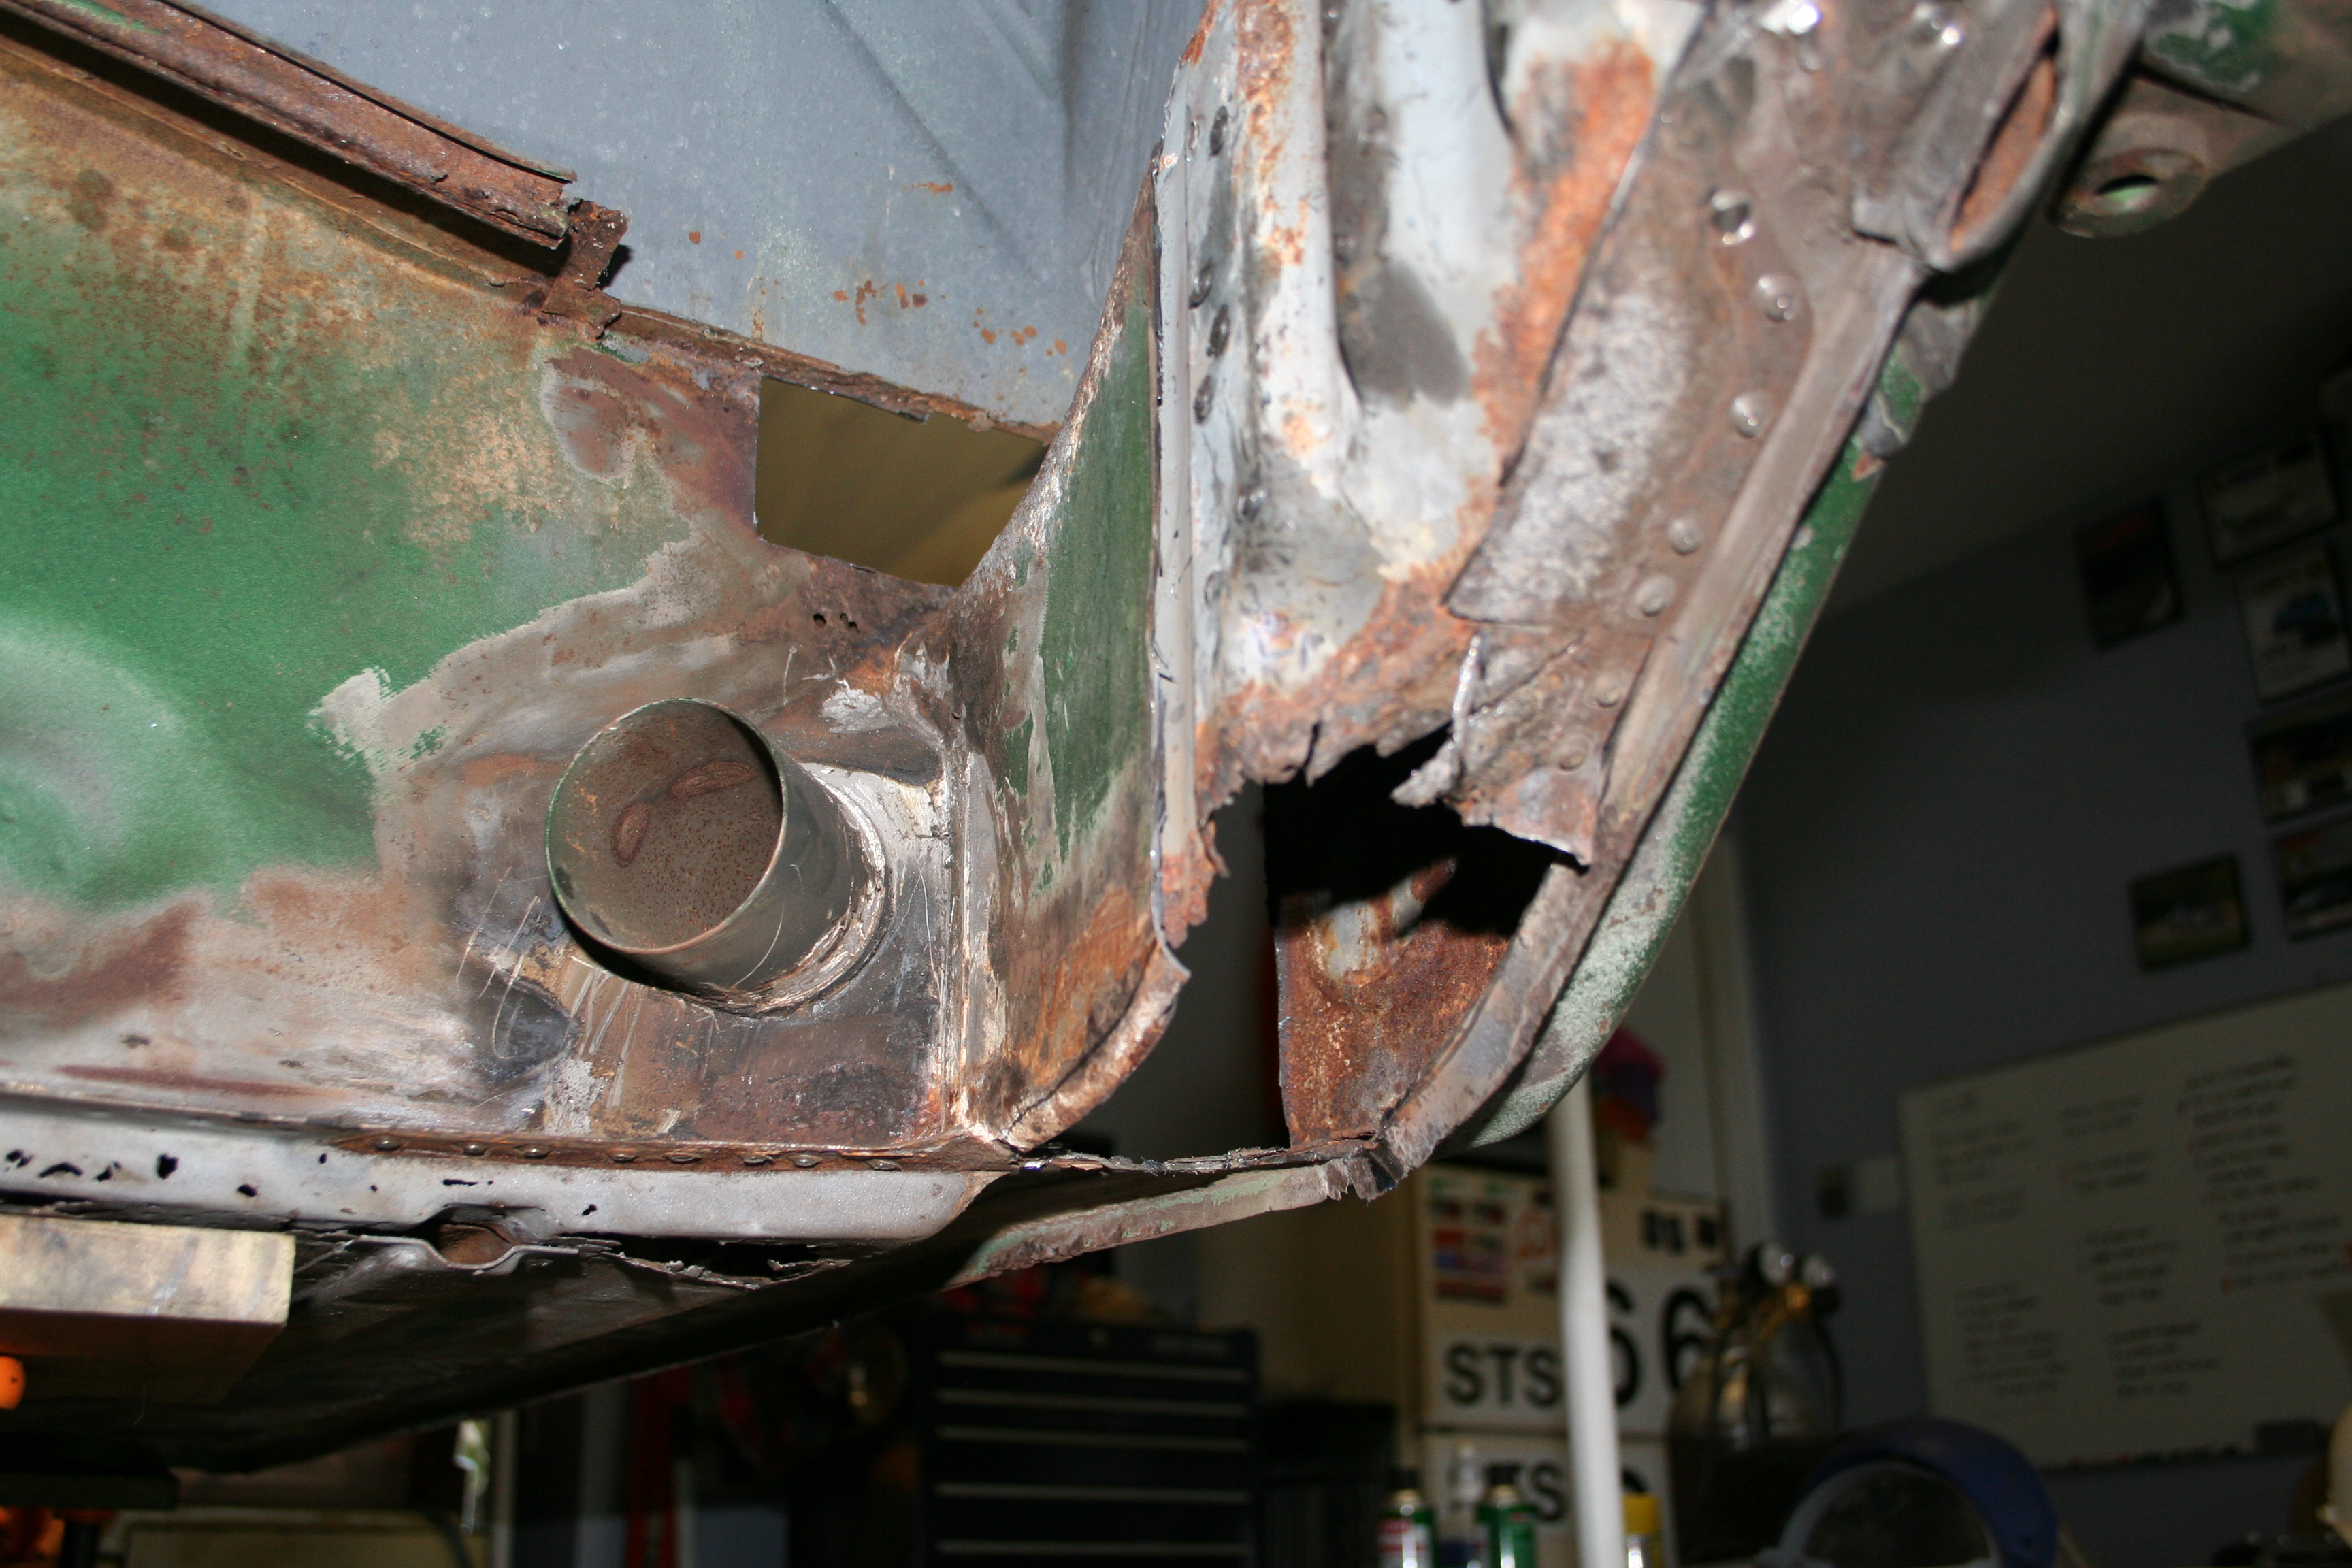
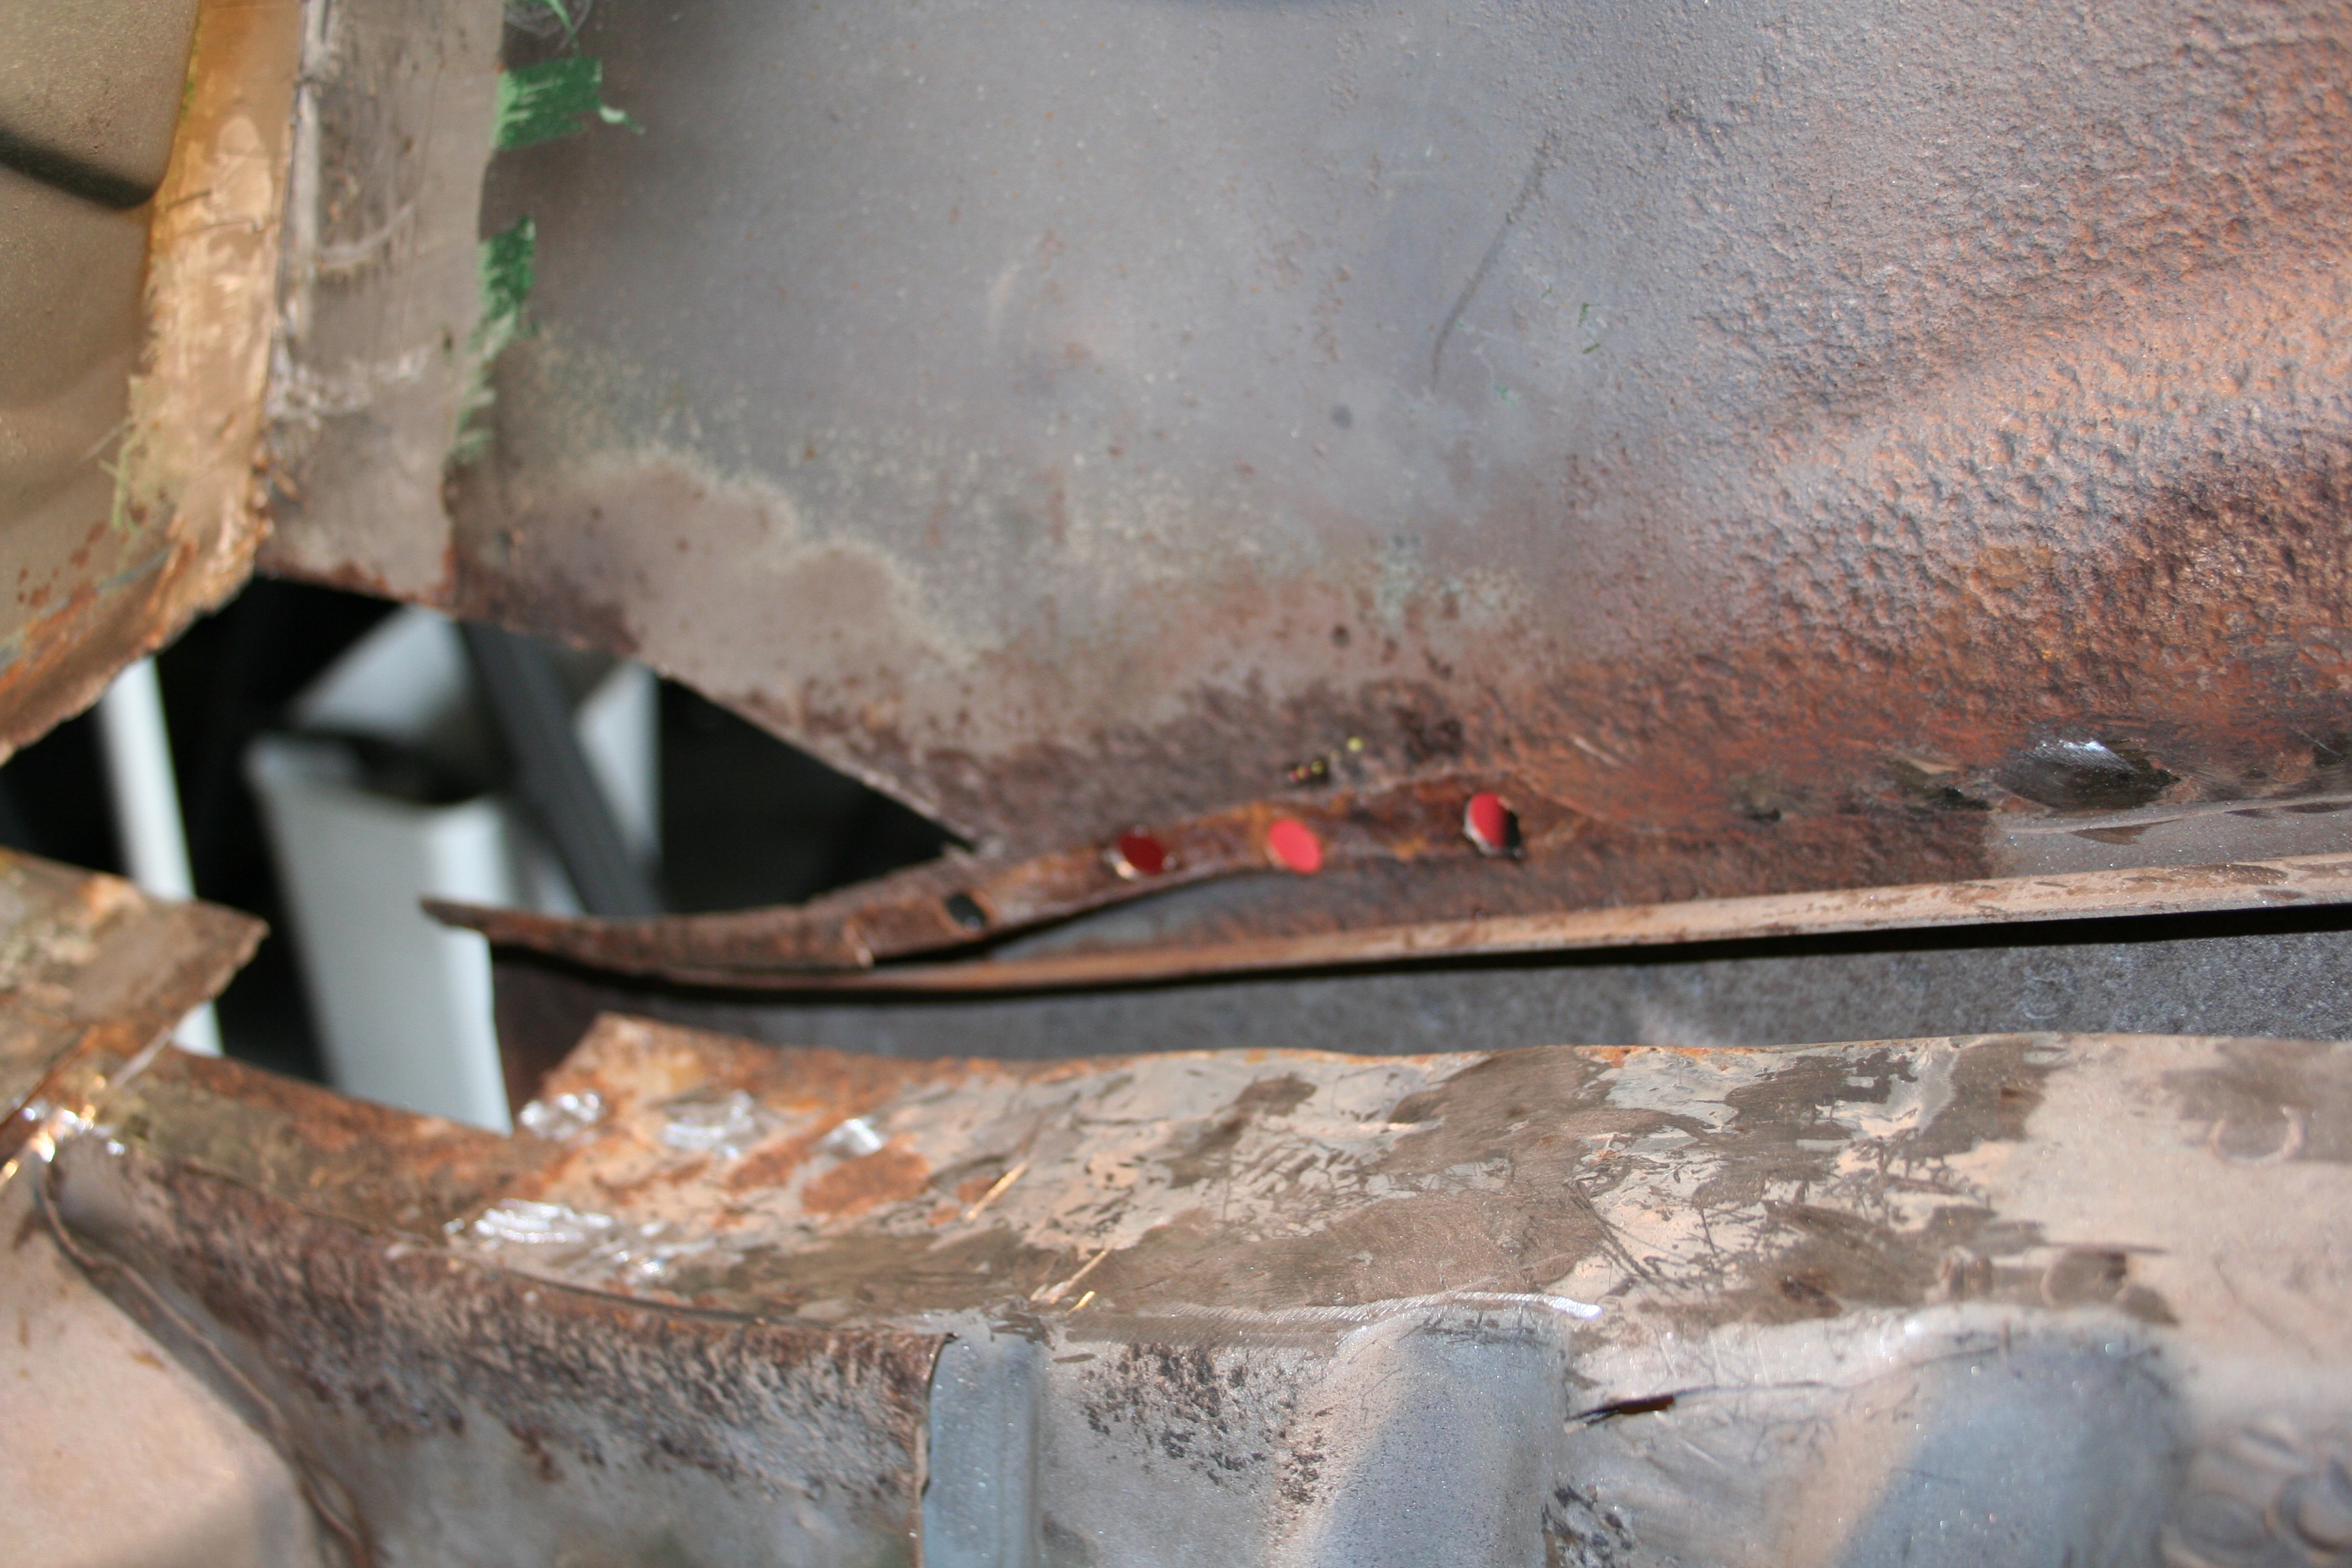
longitudinal near outer suspension console seems solid. Area below jack receiver point is not.
Previous owner had removed jack receiver. I kind of wish he didn't as I know don't know the depth of this section. When I weld in the new receiver it will rest against this wall and the depth of this wall determines how far out the receiver will stick.
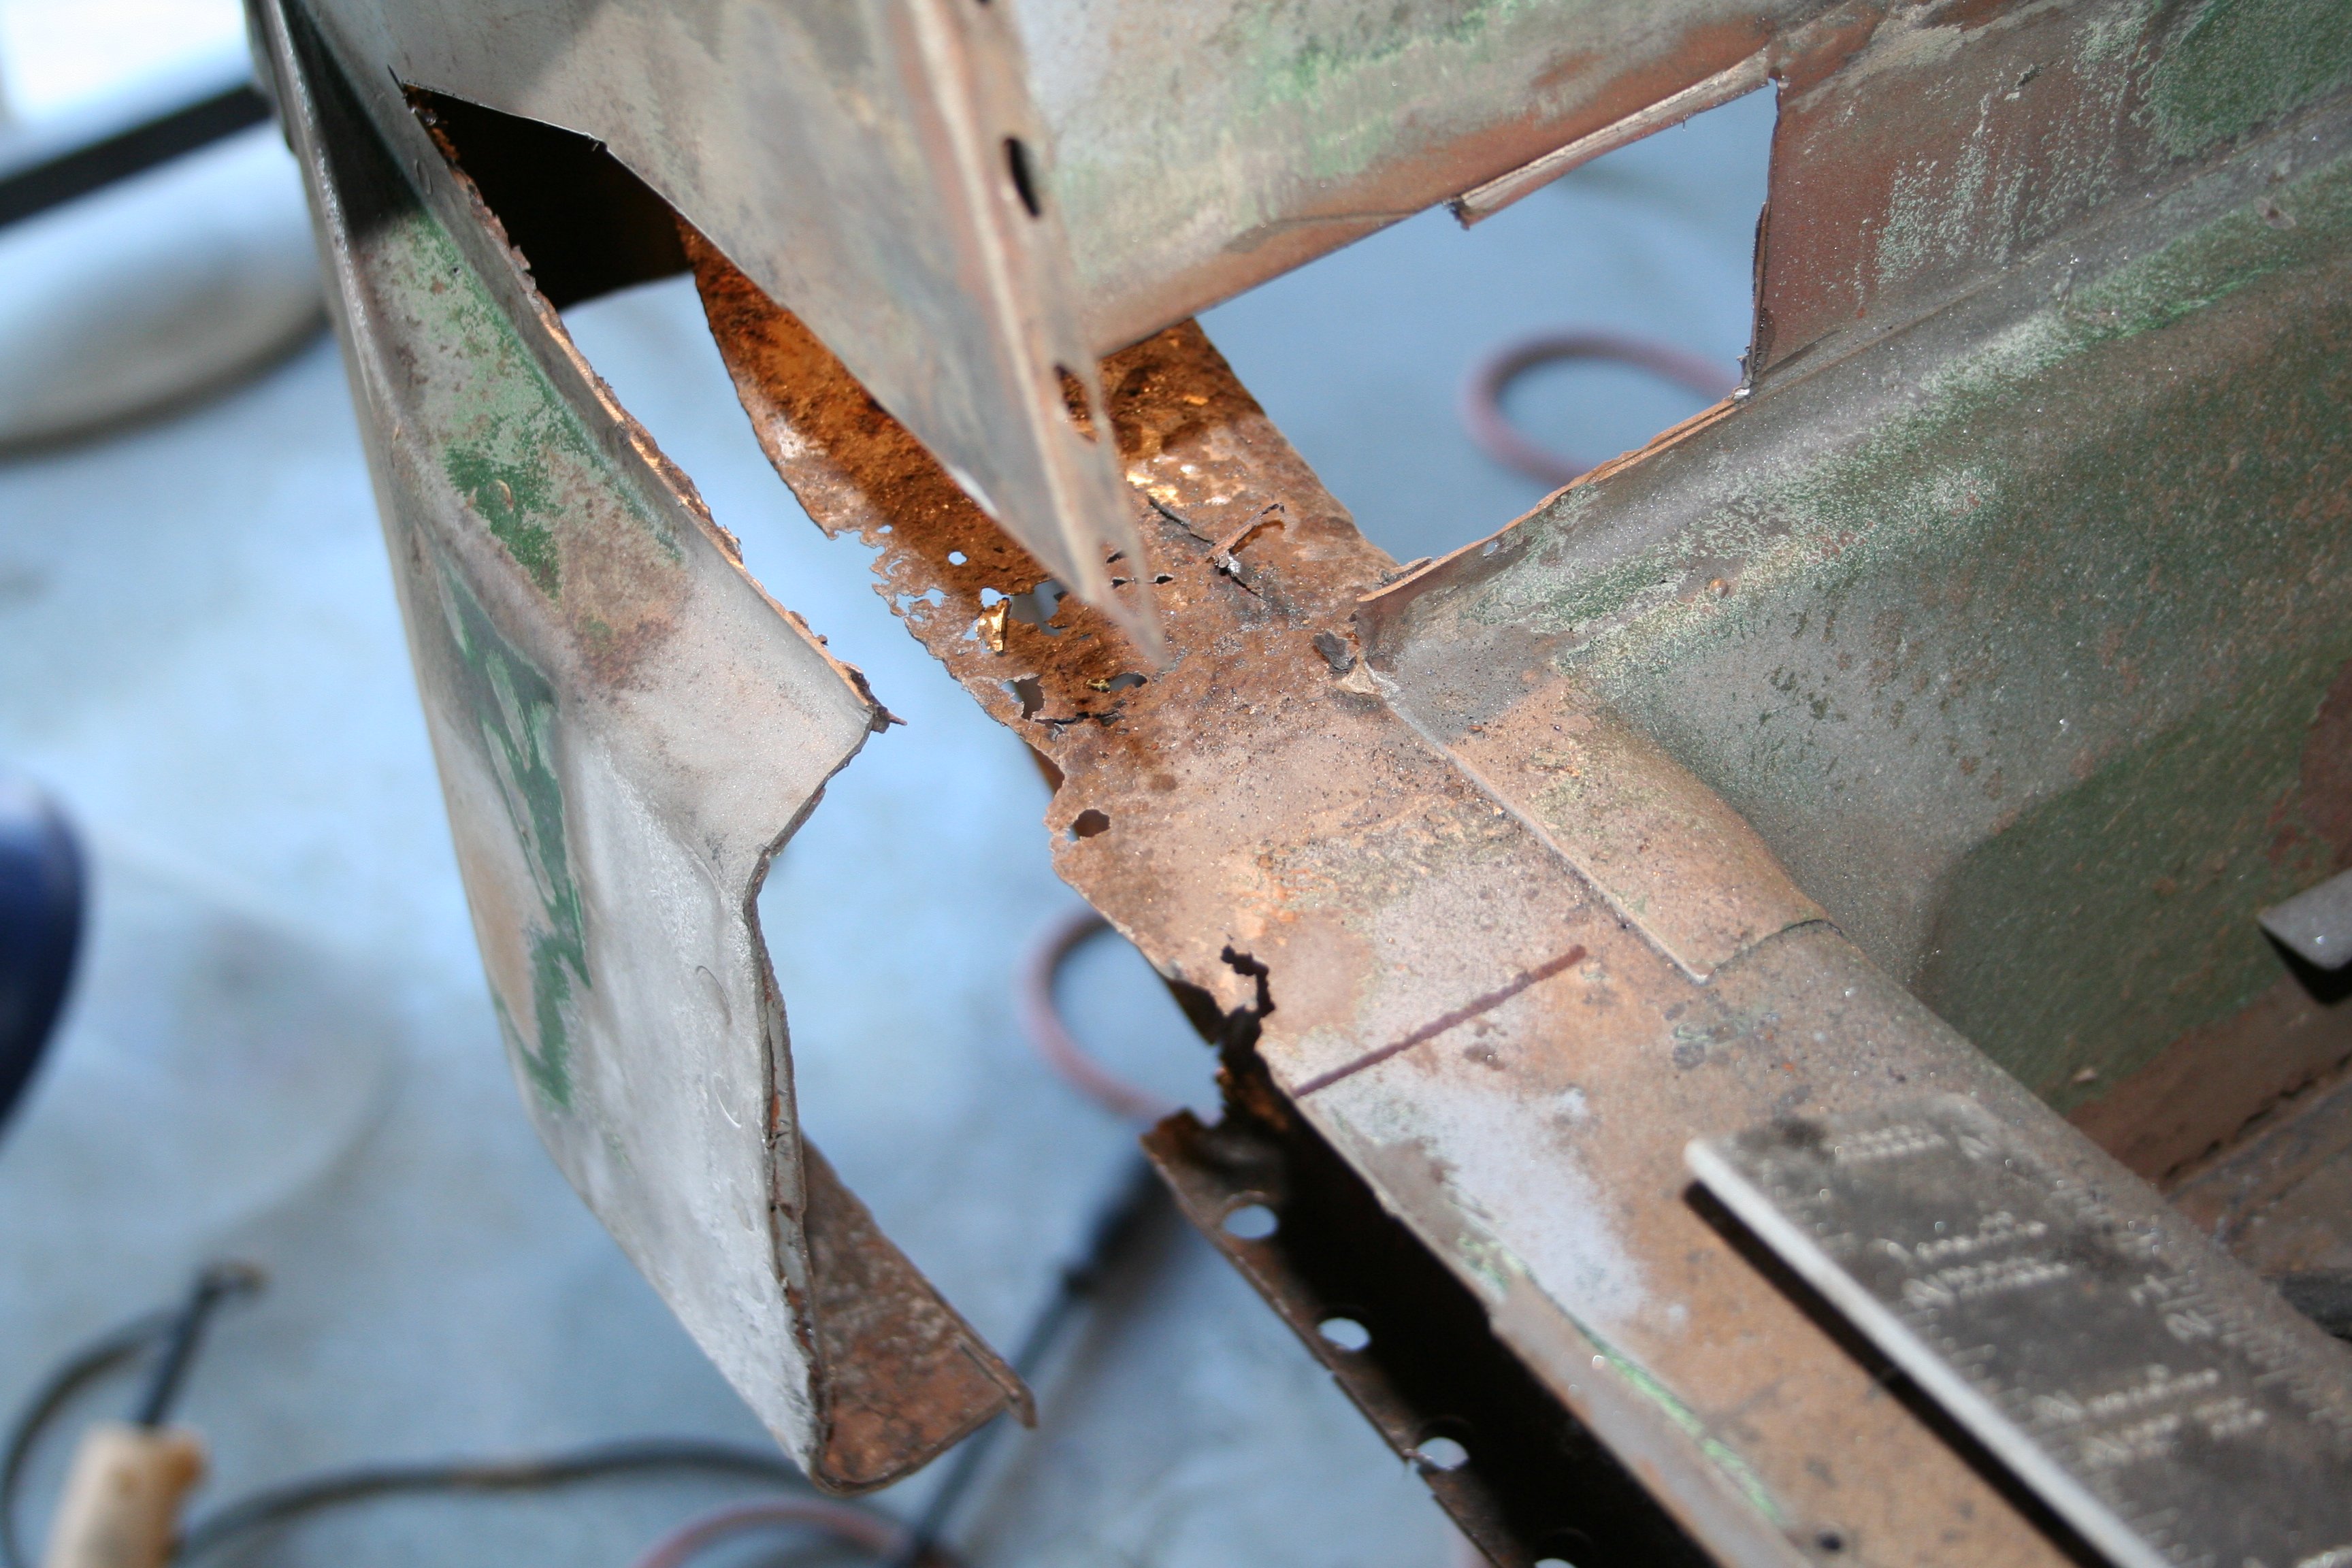
Weakest spots on the entire car. 10/26/2007Started to cut on the car.
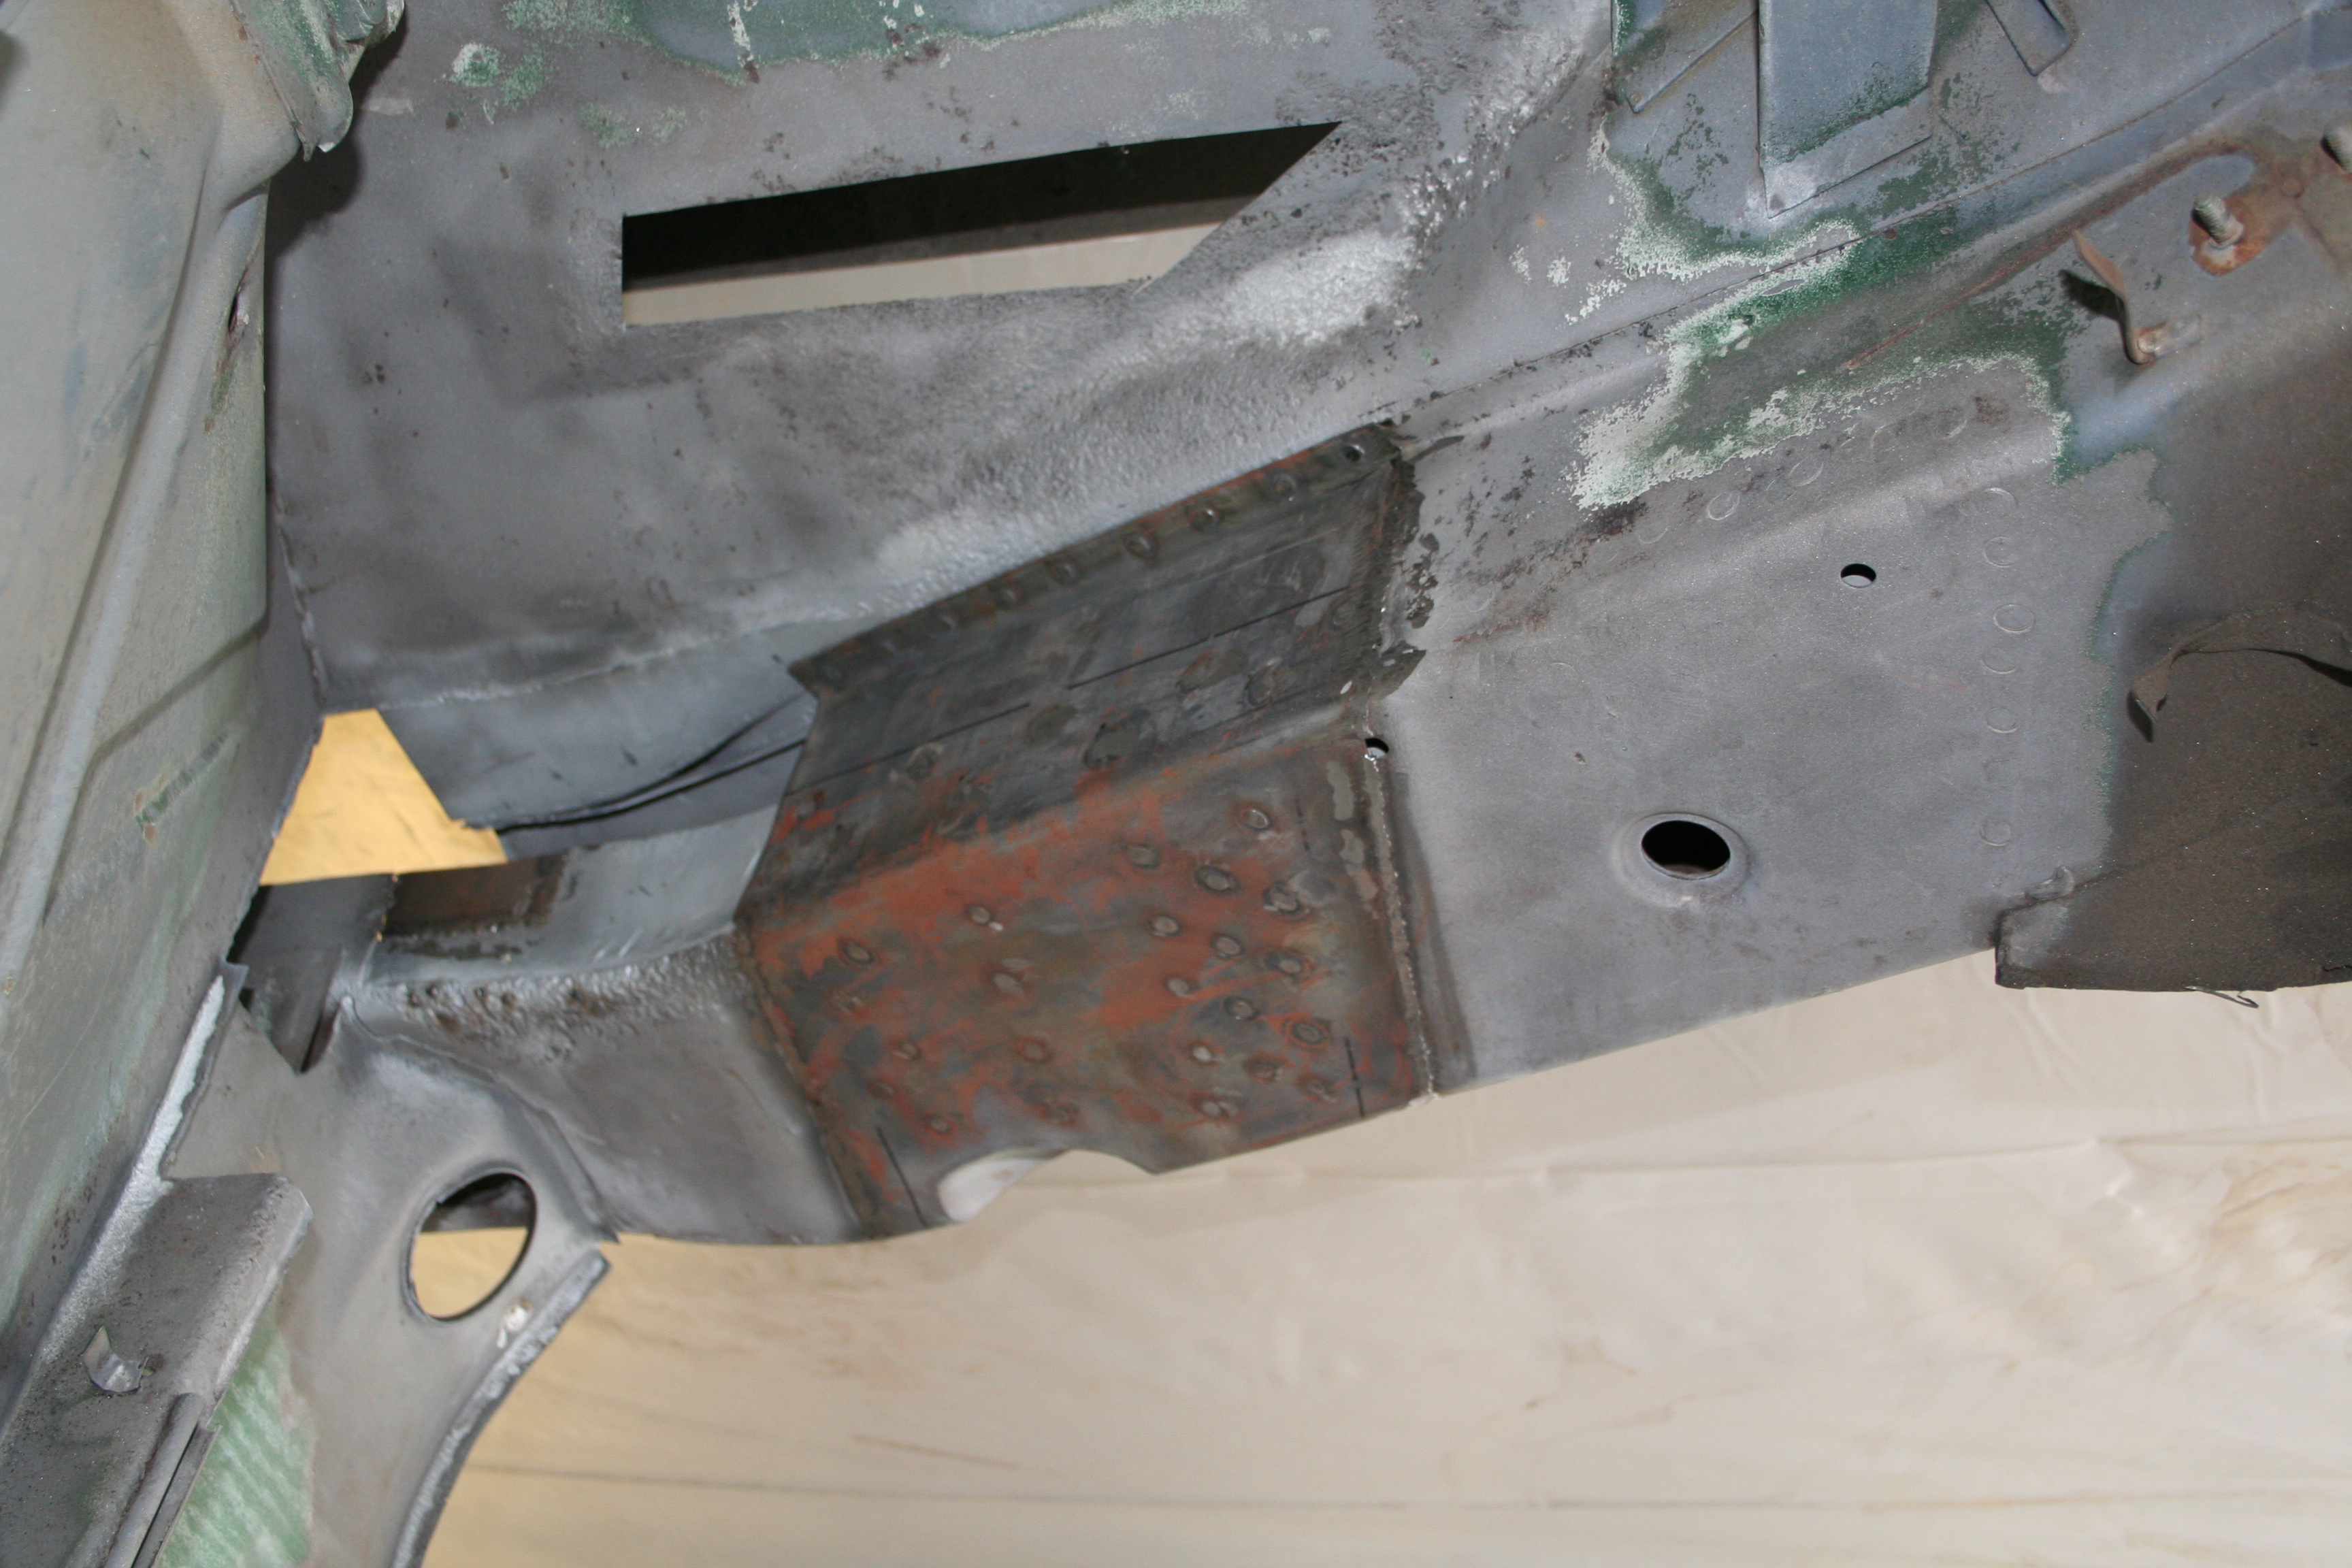
It's hard to see (photo needs to be rotated 90 degrees), but this is taken looking up toward the rear suspension consoles. There is debris inside. It is pretty far up due to the car doing a number of 360 barrel rolls on the rotisserie. After I vacuumed this out it turns out that the inner walls are in good shape except for the part at the very bottom.
Note the flash surface rust after I did my media blasting awhile back? I had not sprayed with metal ready and I was actually curious as to how long it would take to rust. It held up pretty well until just recently when we had some rain and the humidity climbed. Humidity has been unseasonable low. Anyhow, this is mostly to document exactly how each section is attached to it's neighbor. I need to exactly replicate each flange..
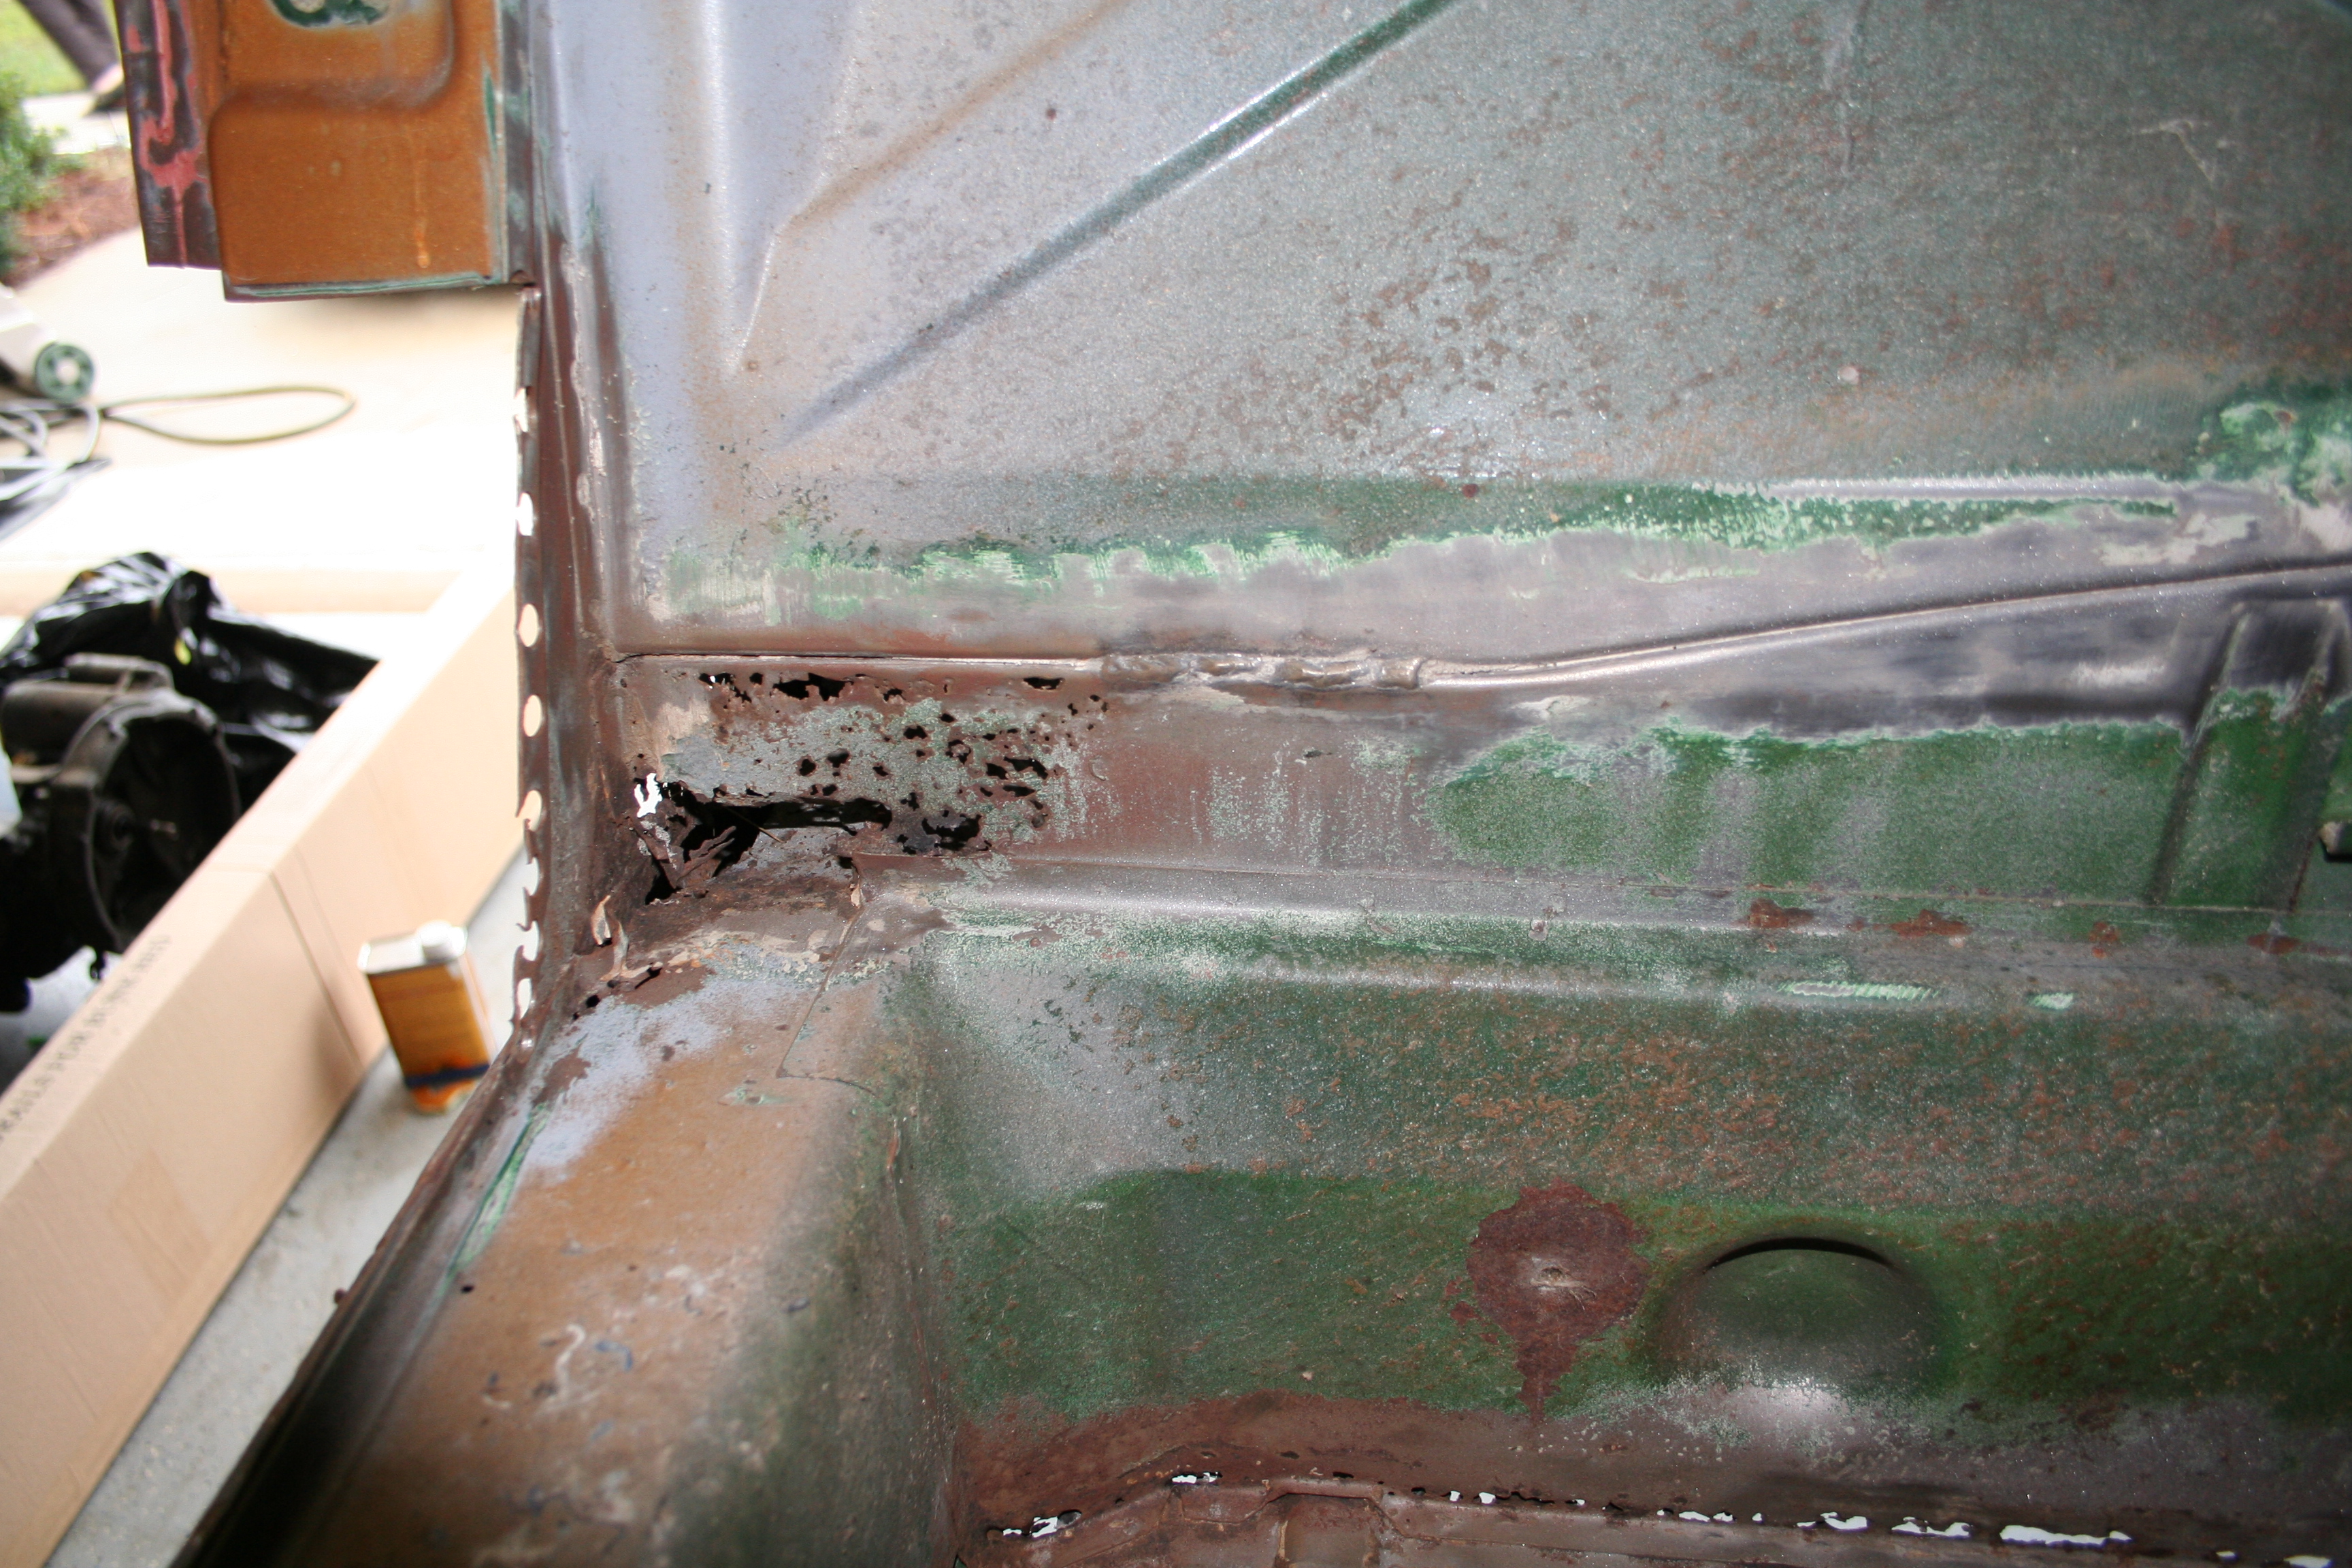
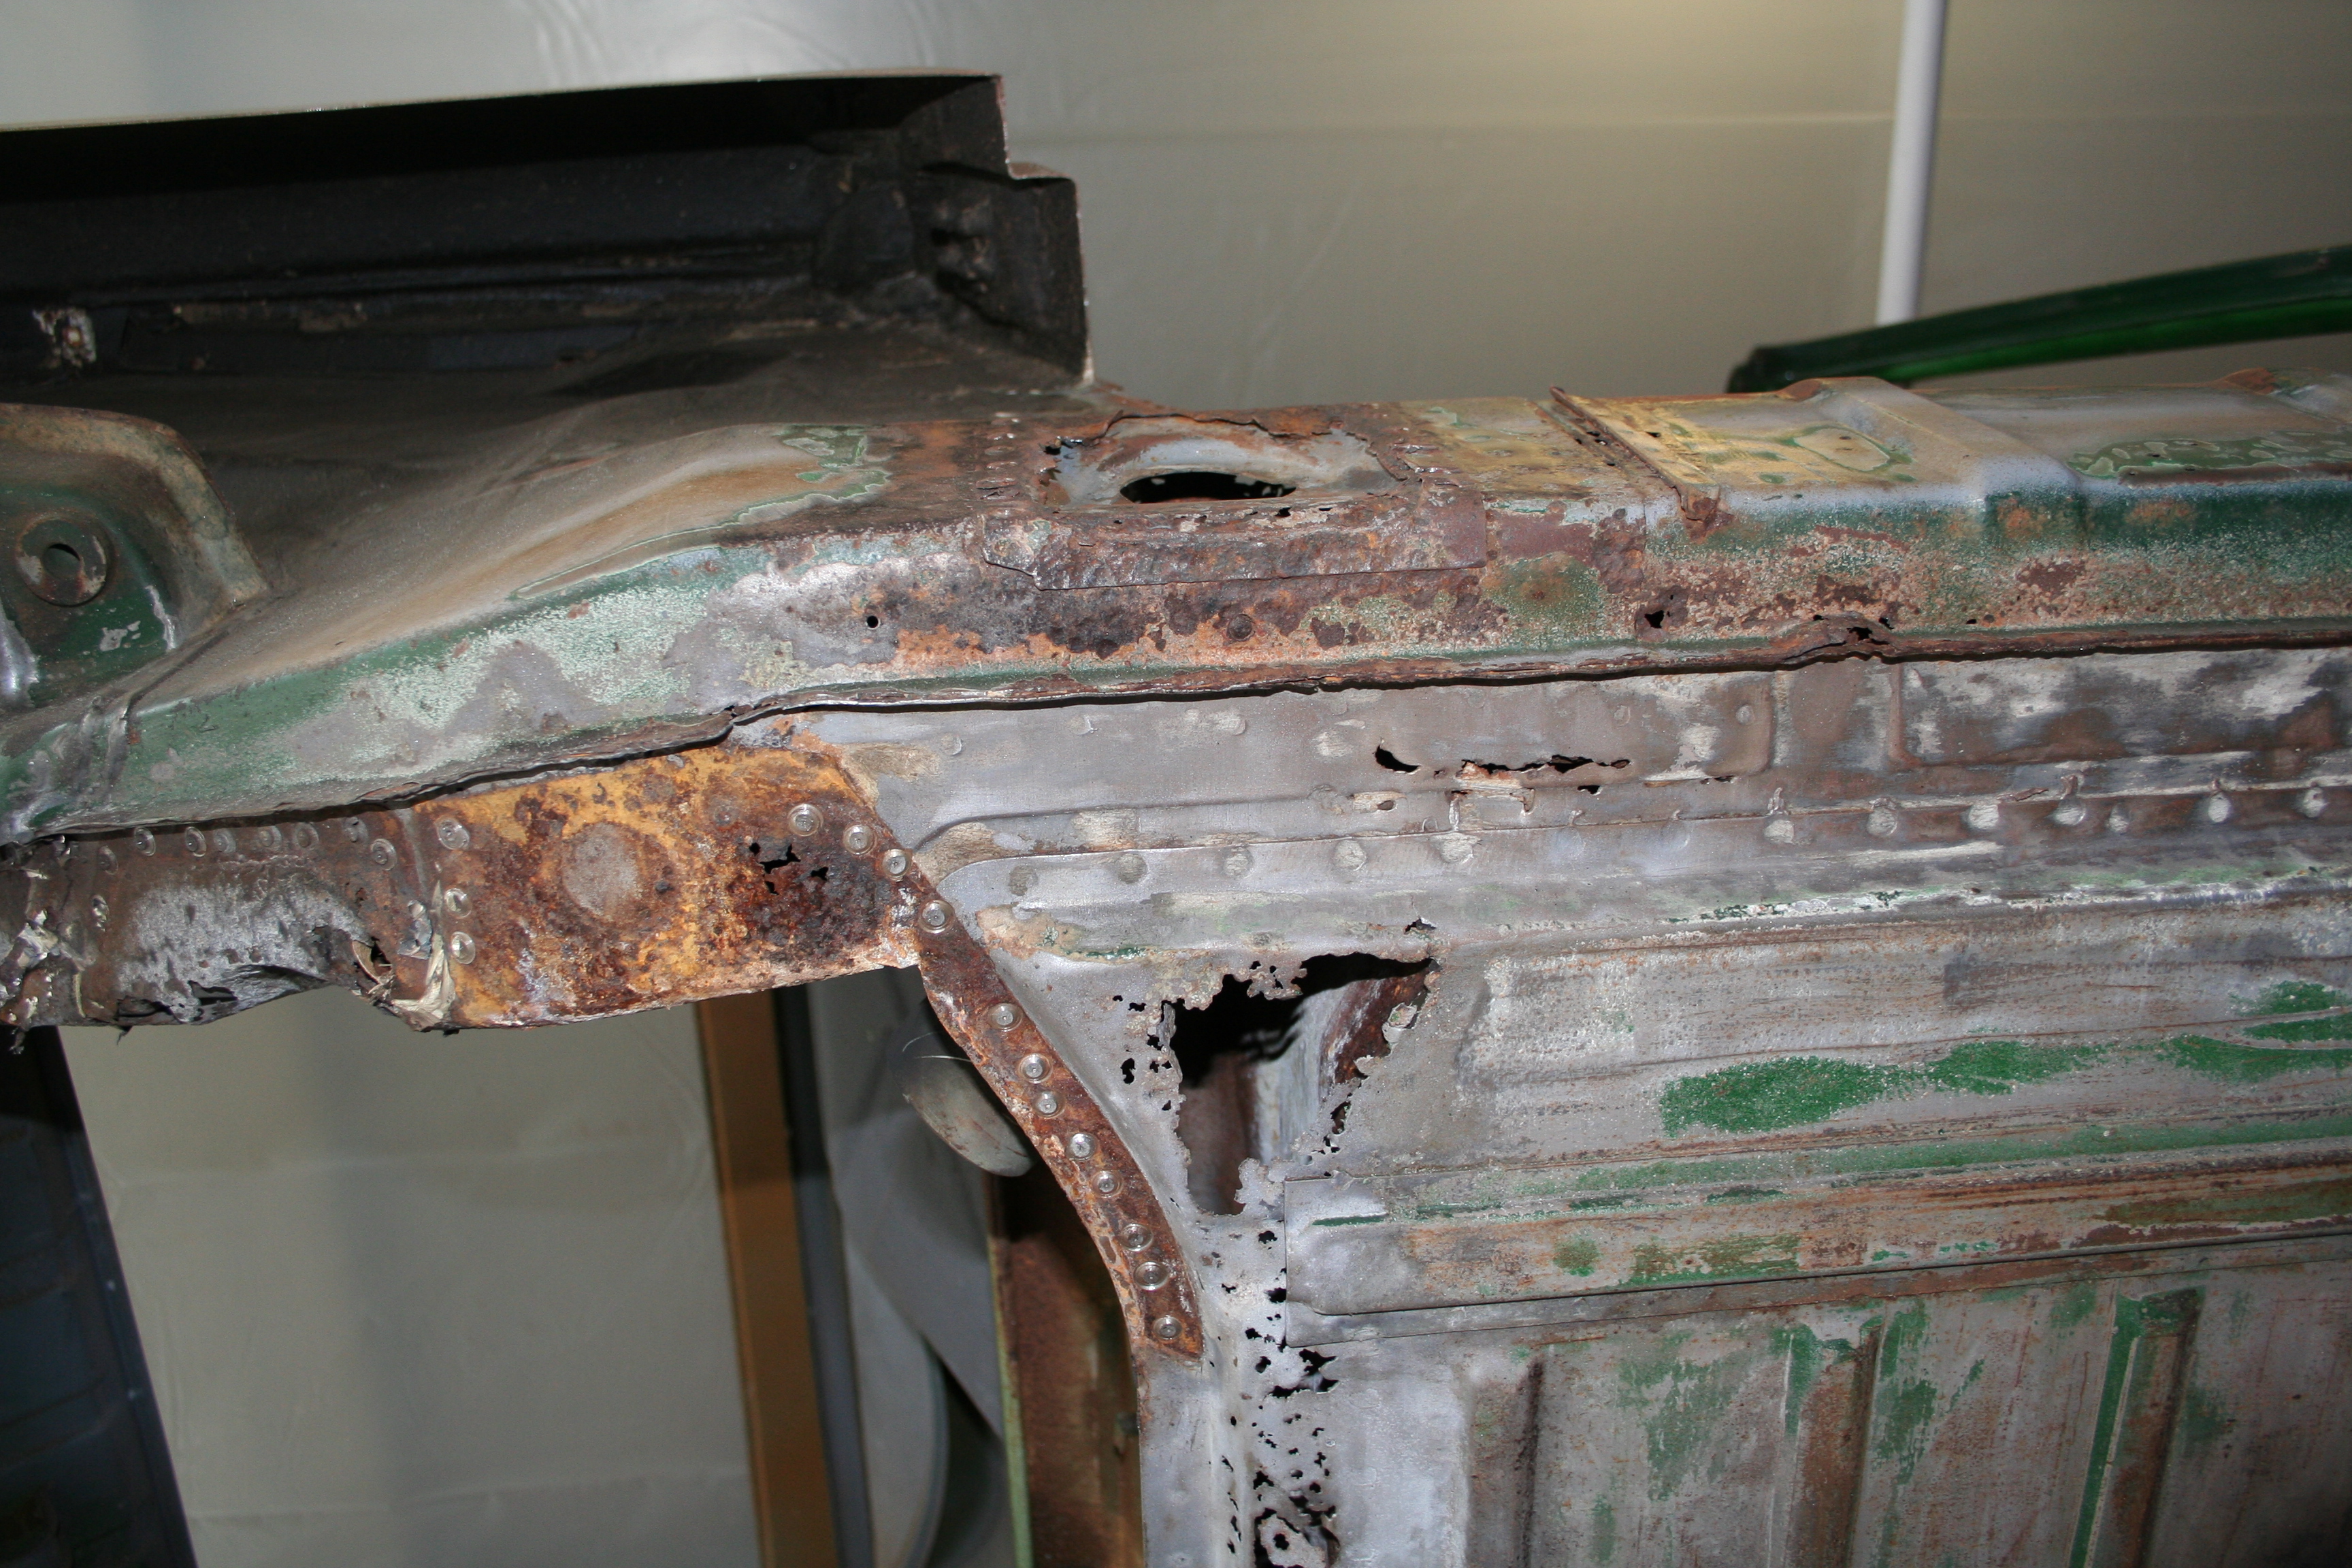
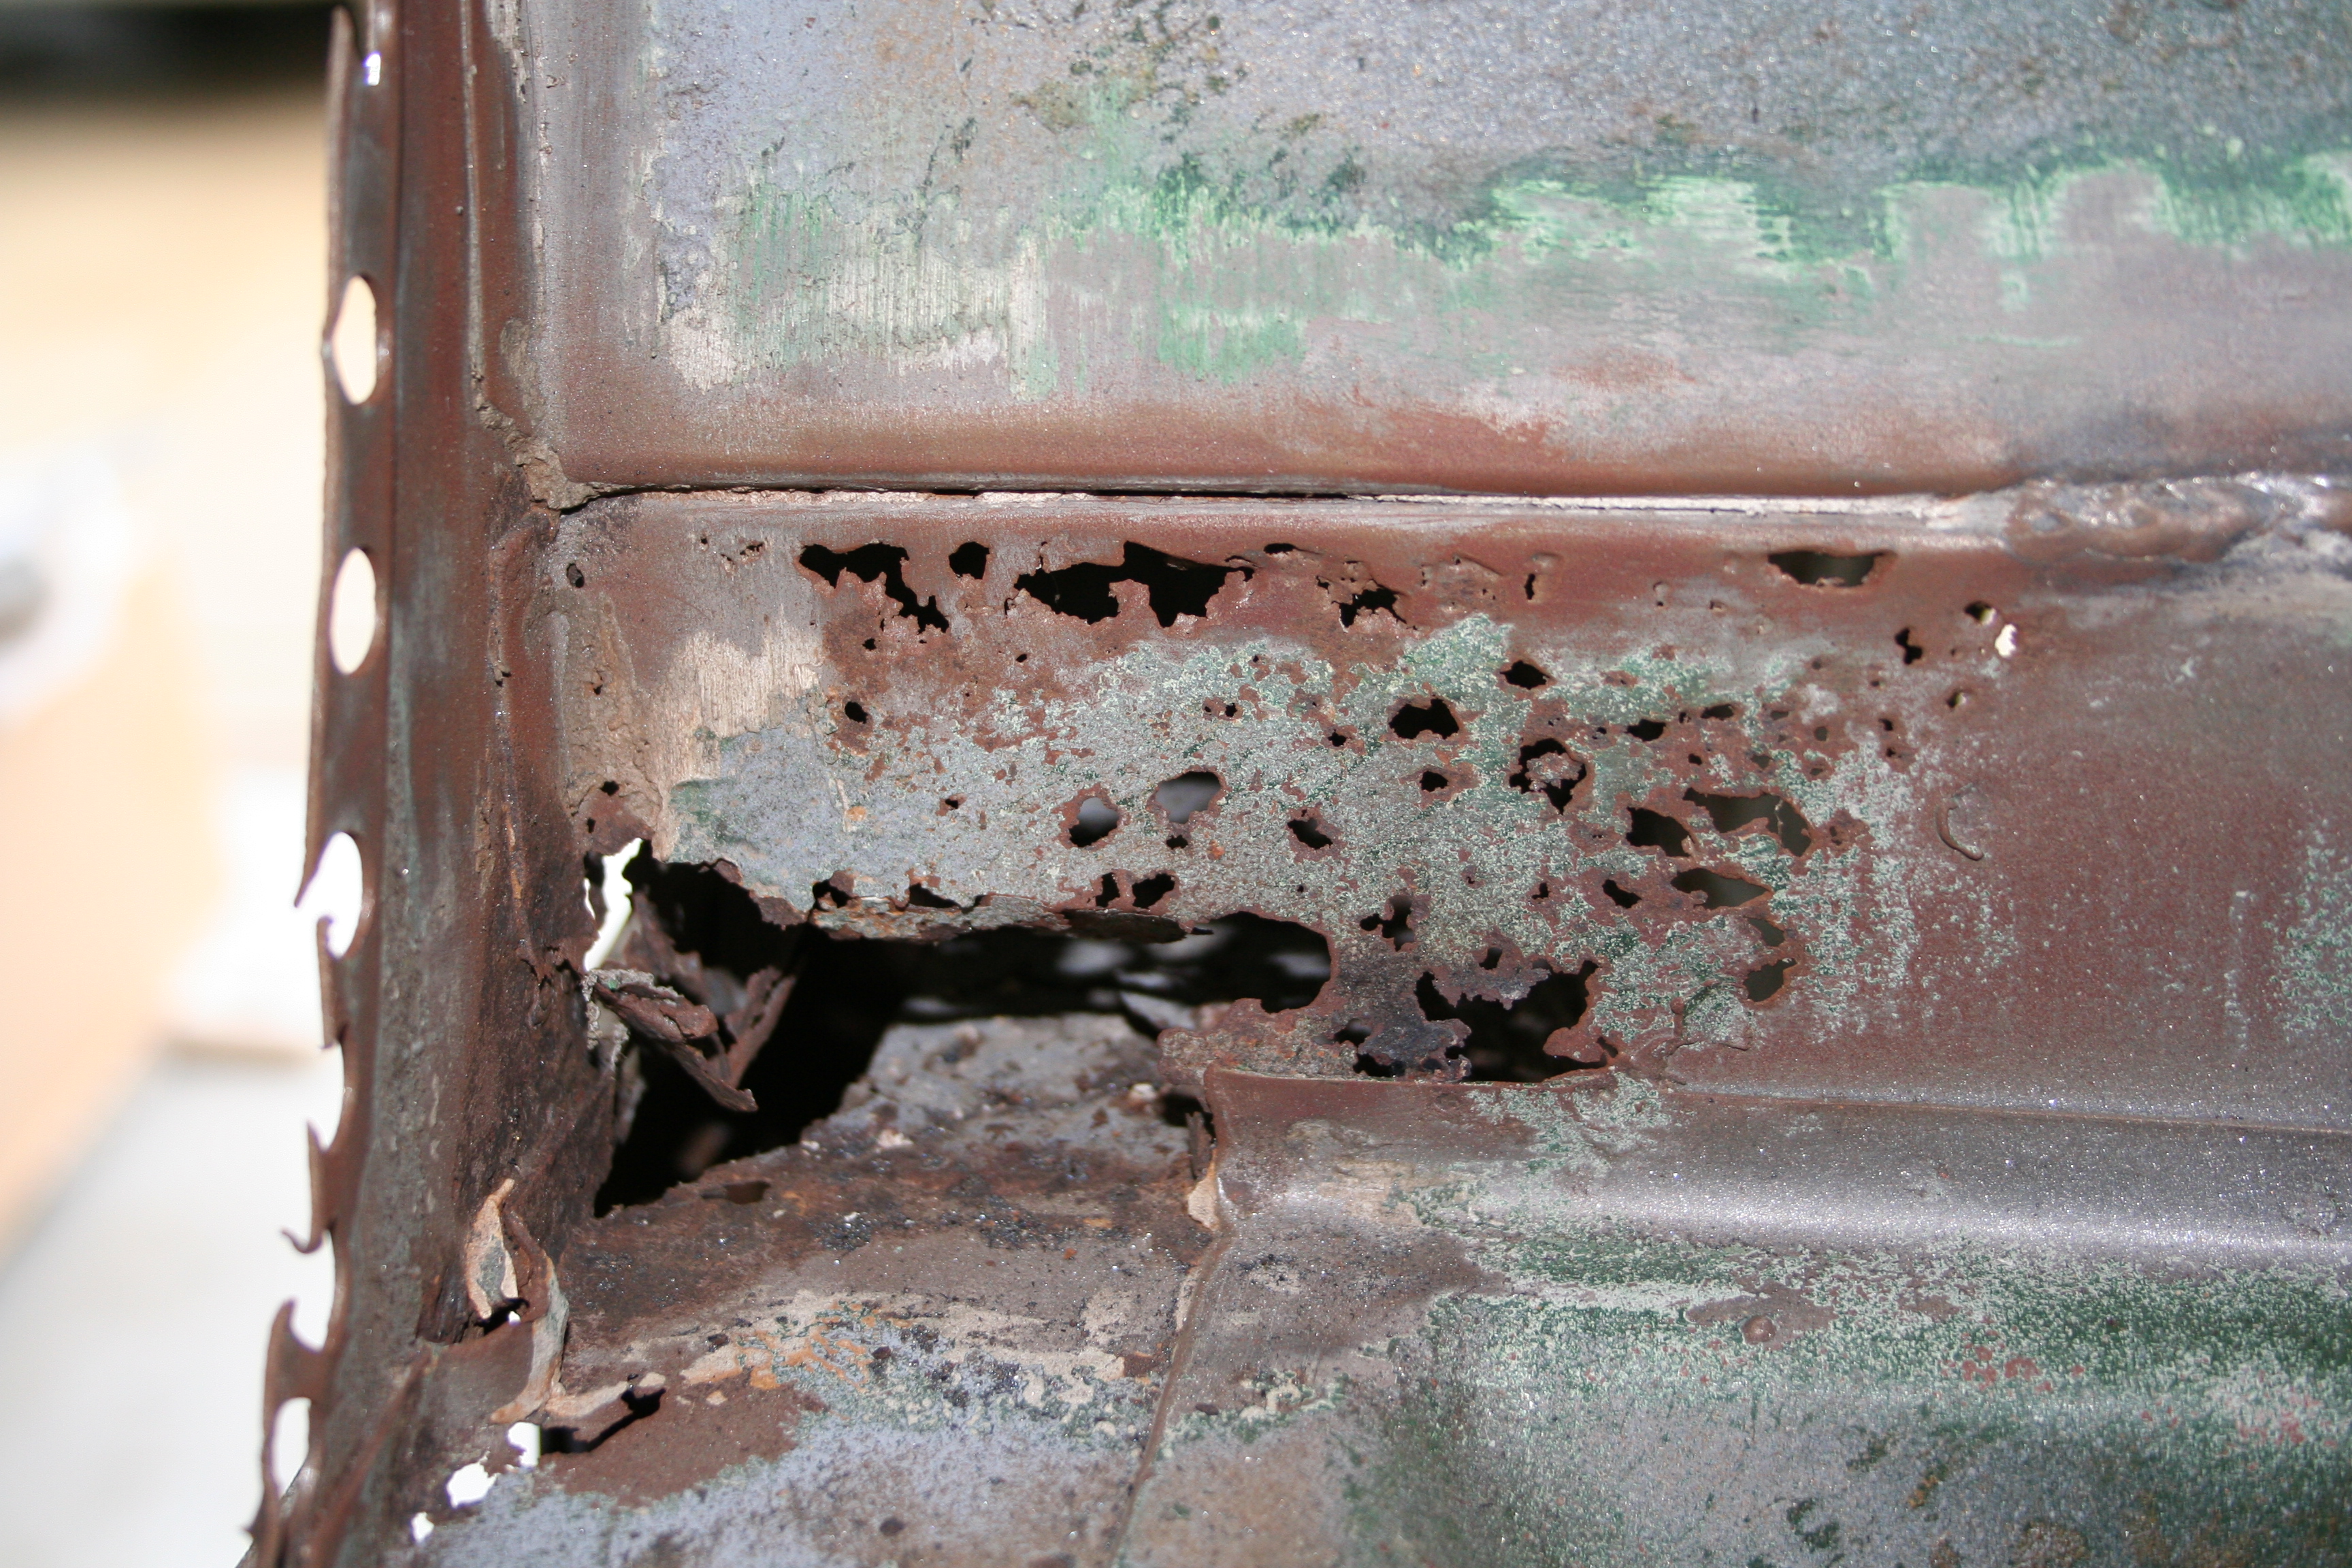
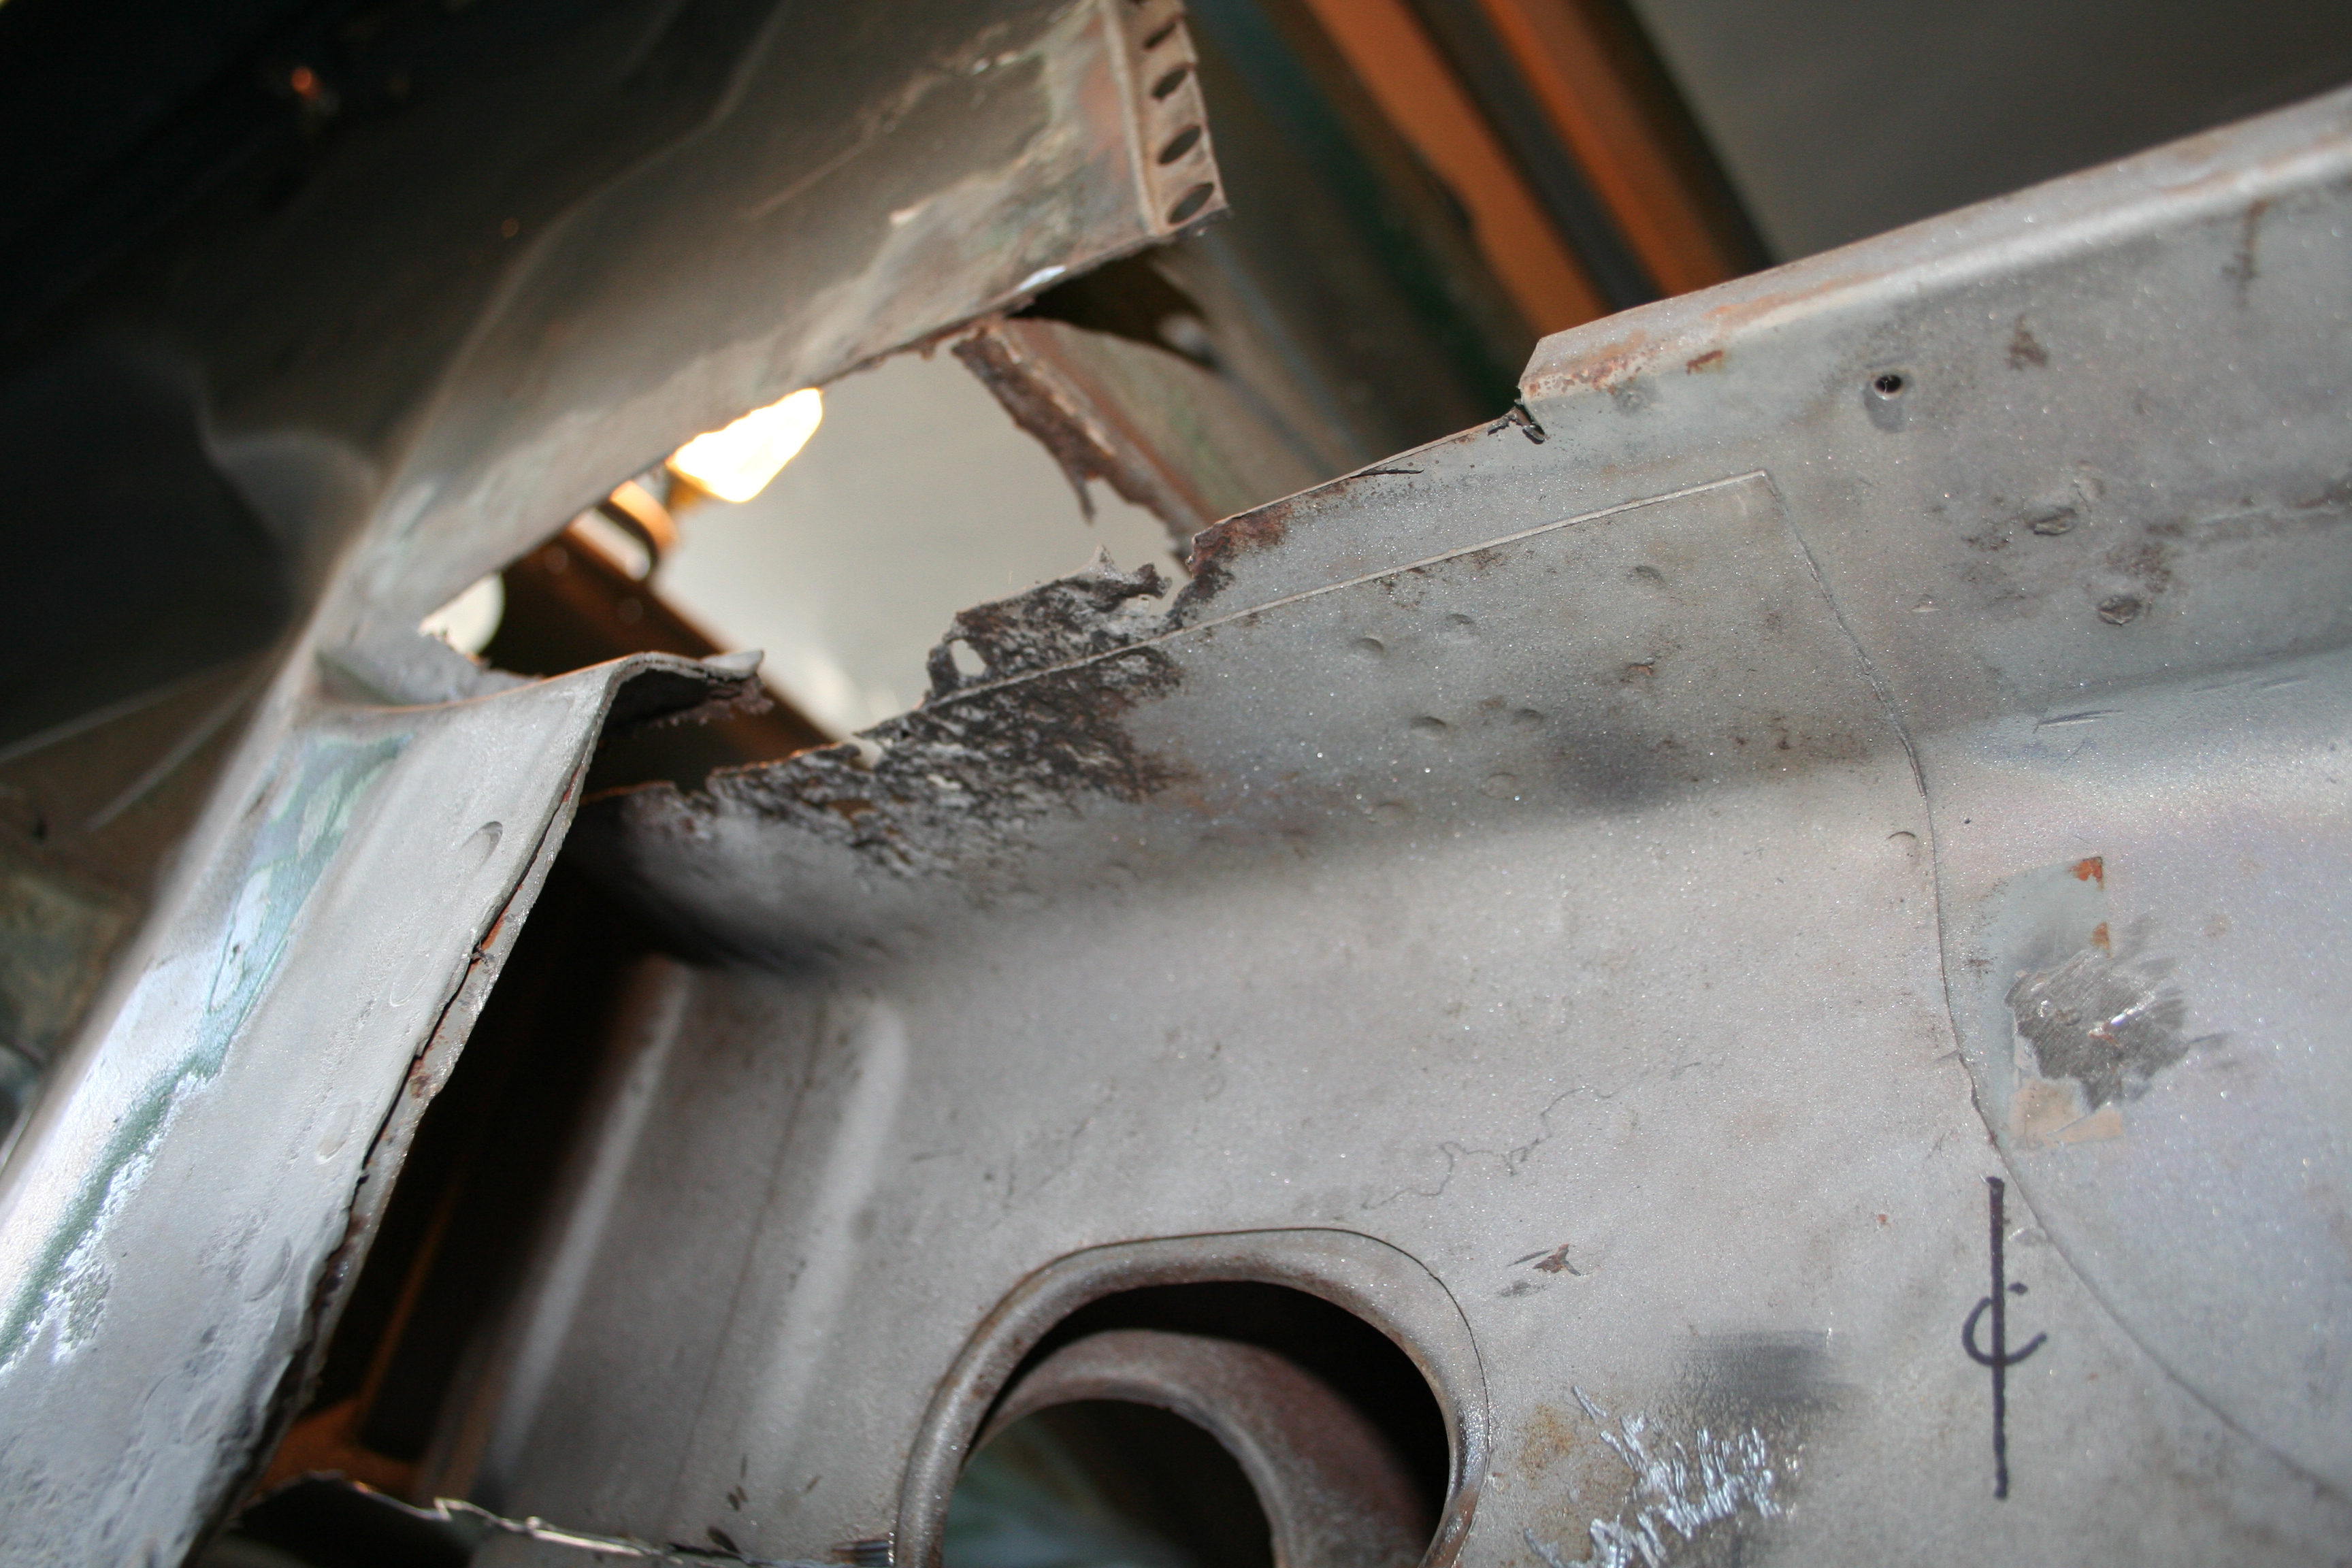
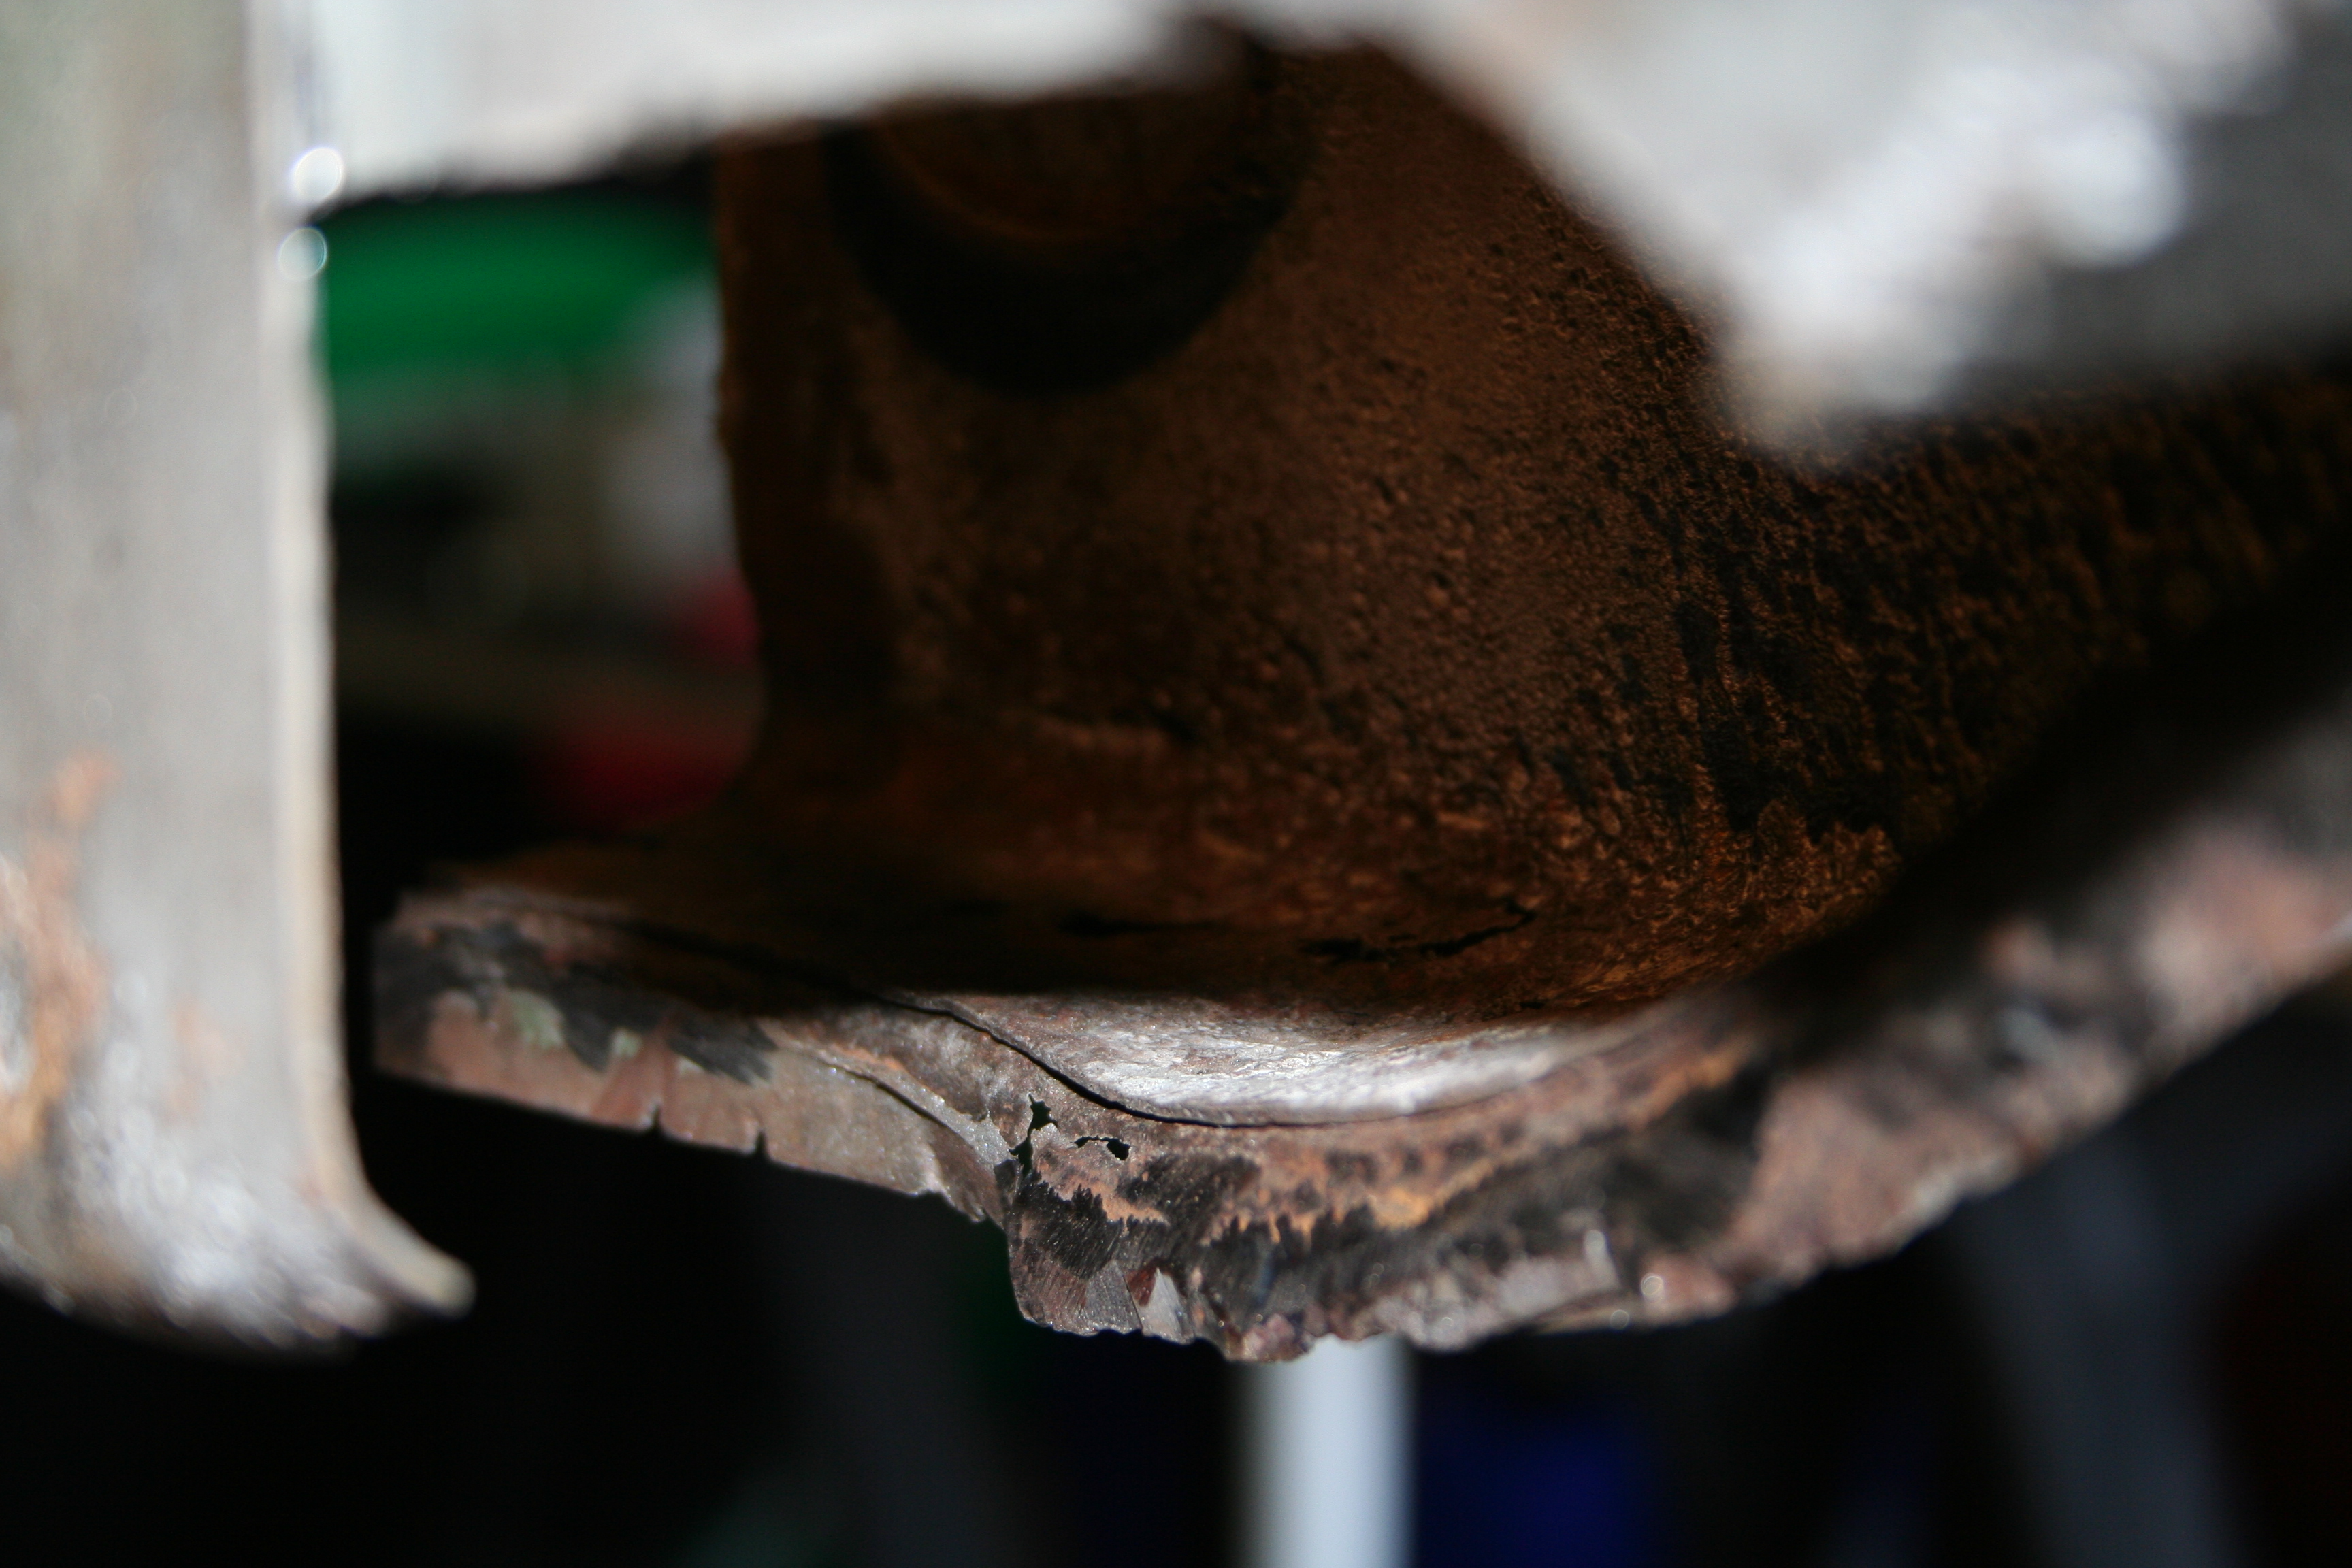
Photos after some cutting. 1/6/2008More work on cutting and grinding out rust. Today I focused on the area on the top and bottom of the outer longitudinal. On the top you see that the top layer is pitted and rusted pretty badly.
Top looks rough.
Even second layer (inside) is rough.
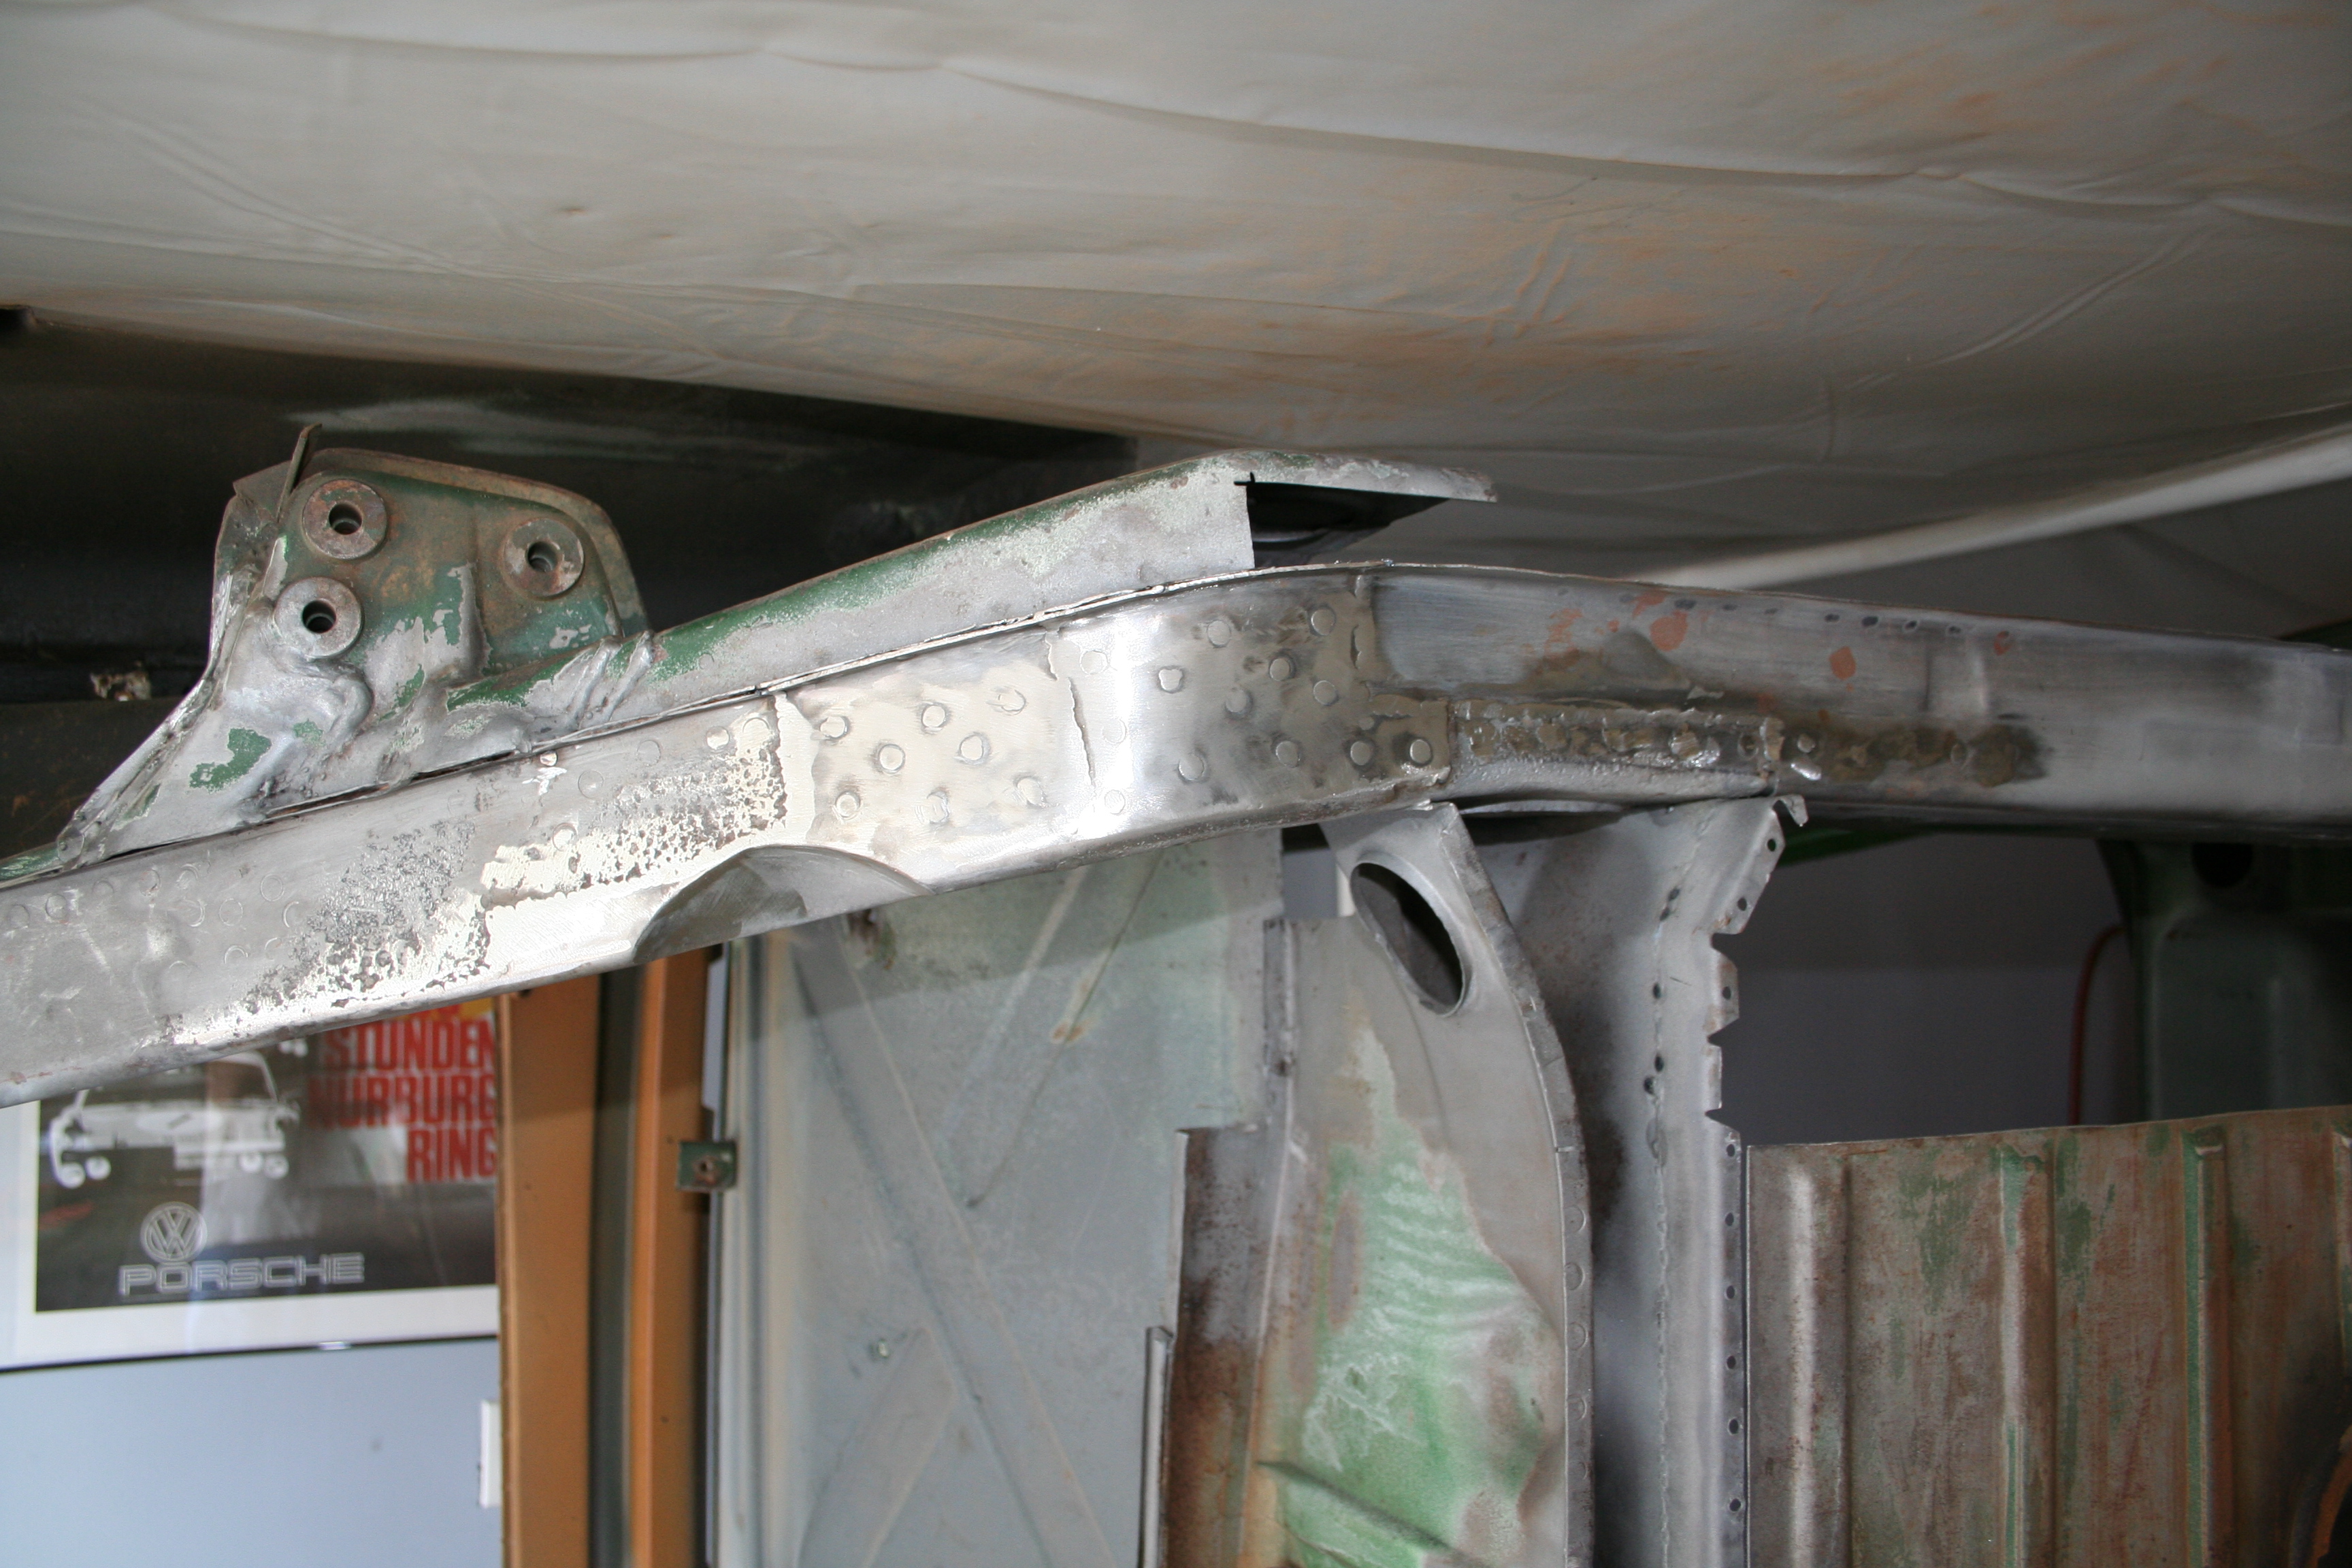
Here you can see the inside of the outer longitudinal. It has the U-channel inner part and the outside clam shell. This area has weakened enough that when the car was jacked up it pushed the seam at the bottom of the longitudinal up. You can see it here in the left side of this photo. That section should be level.
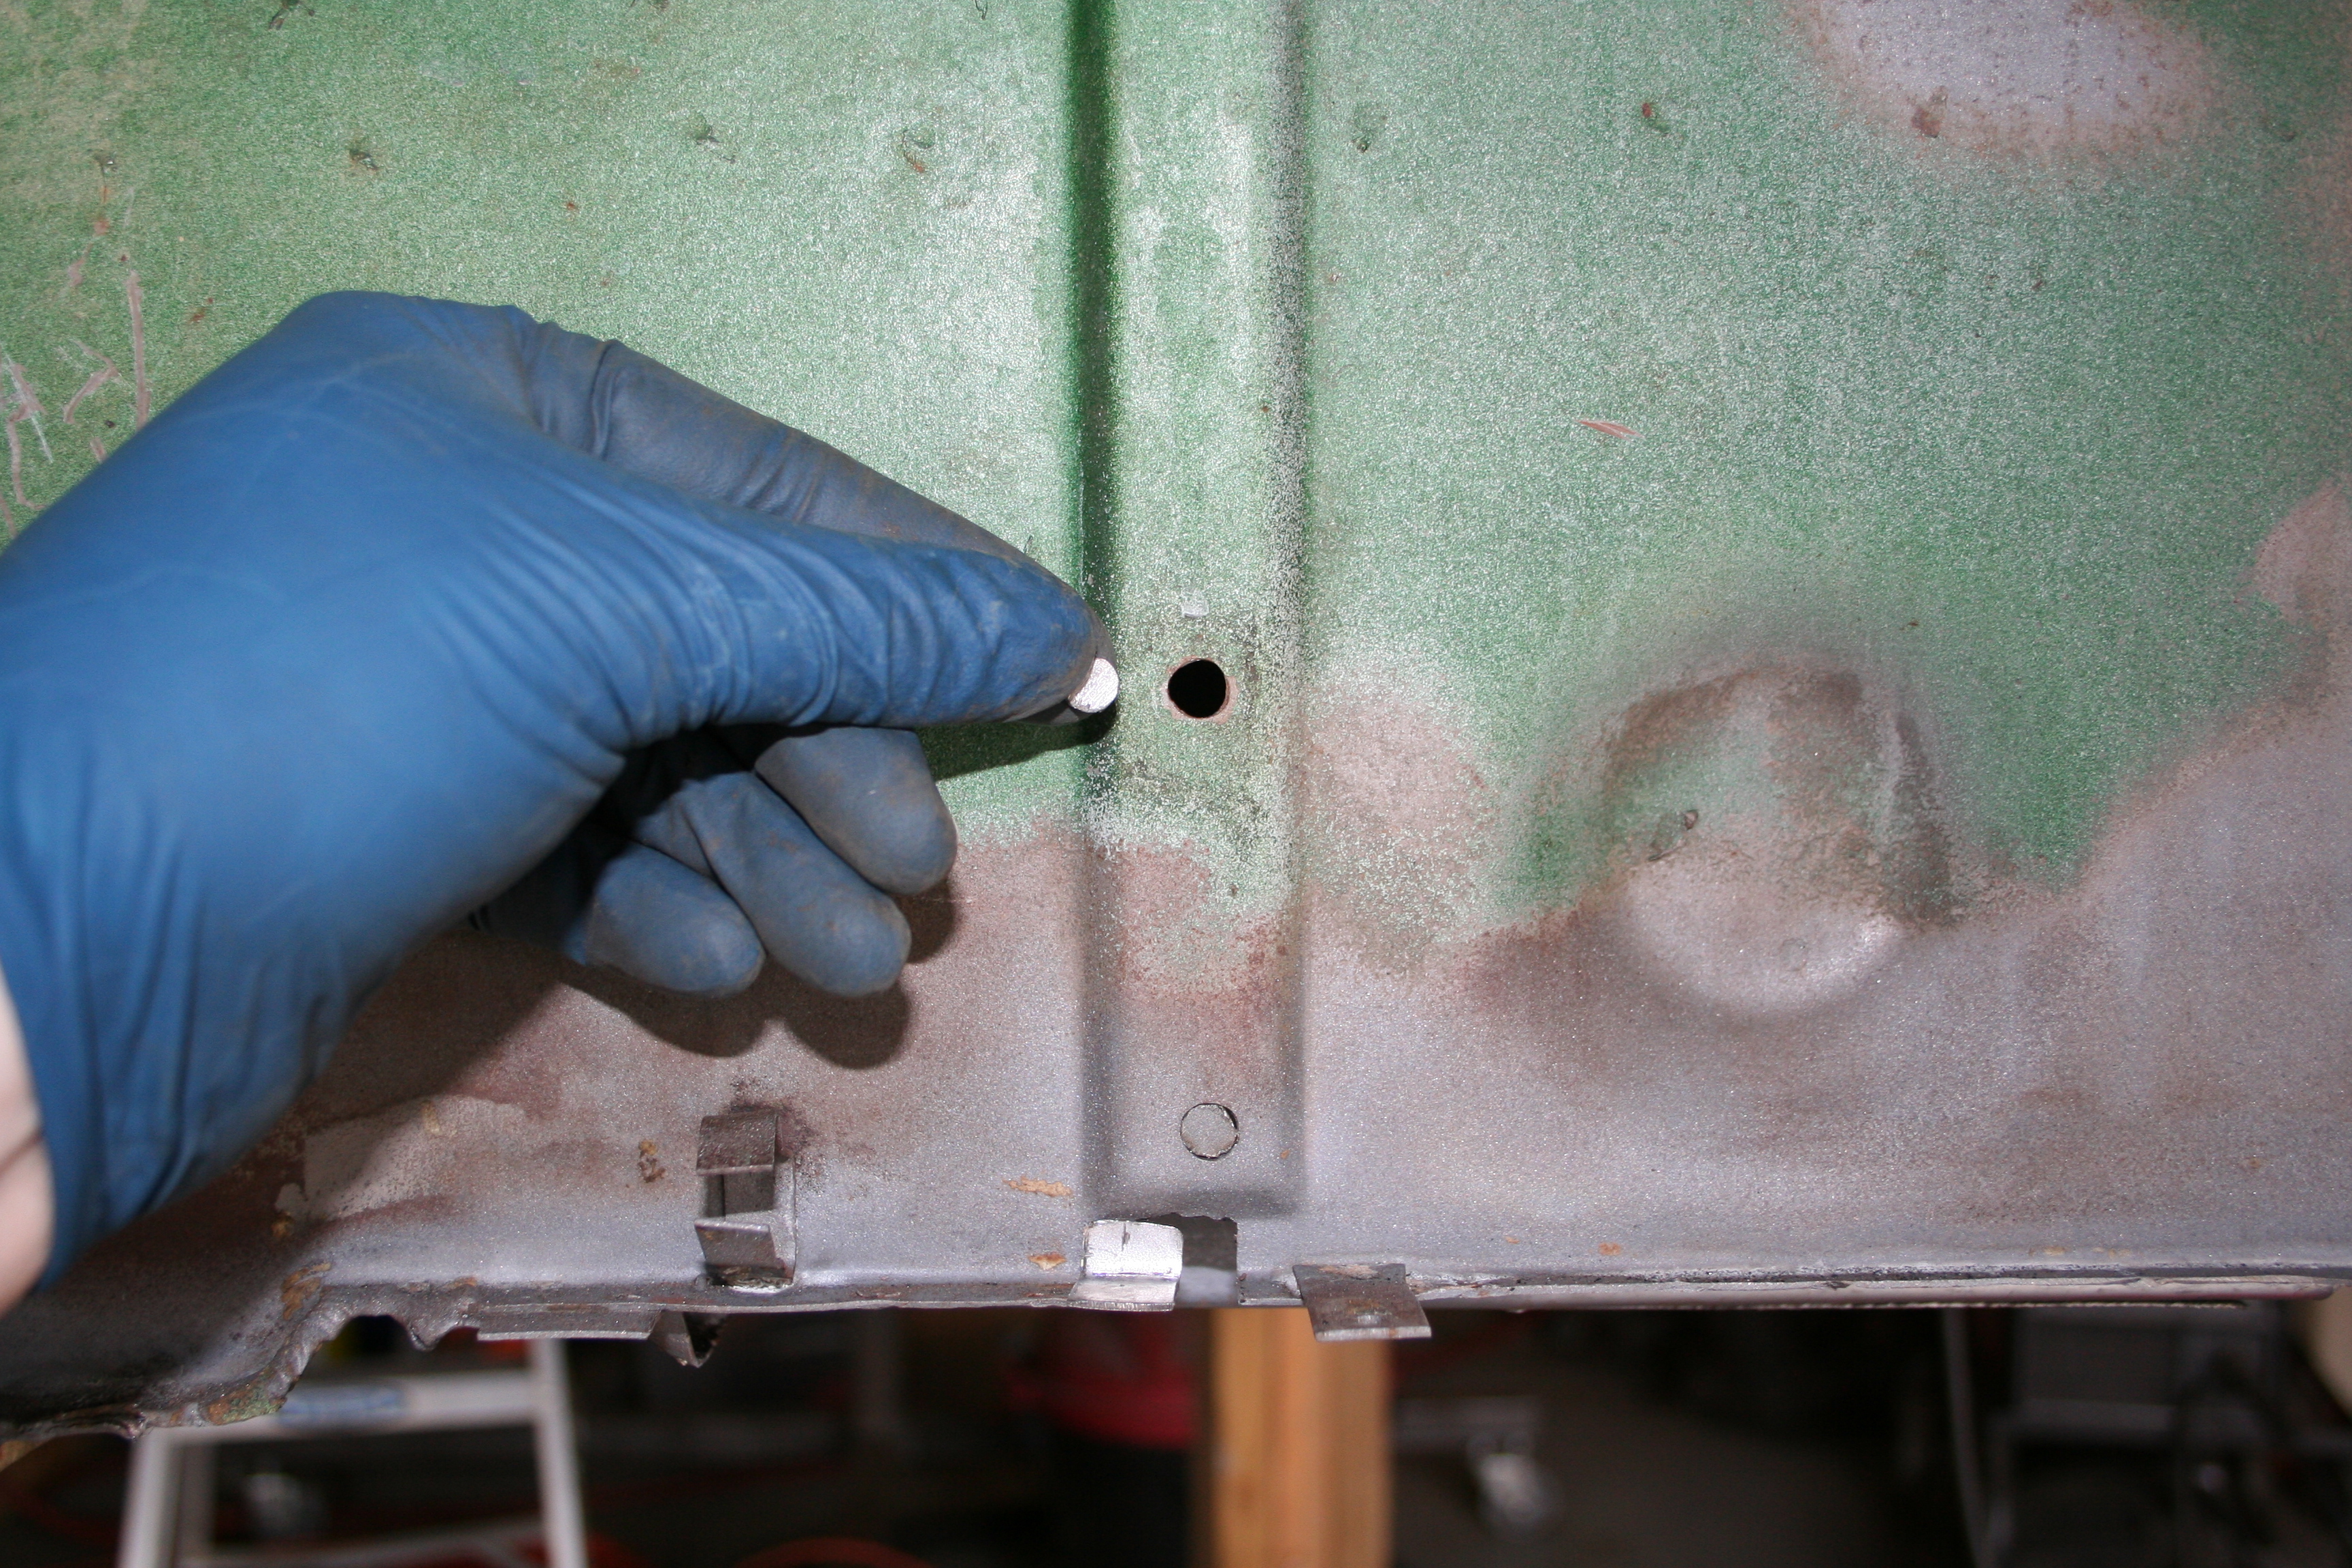
Classic "Hell Hole" photo. 1/19/2008I am working on removing the remnants of the flange from the clam shell that is welded to the wall. It became too hard to cut it out from this side and decided to try to drill out the spot welds from the outside.
Showing location of spot welds that I drilled out.
More metal removed.
More metal removed. Cleaning up edges so that replacement parts fit in well.
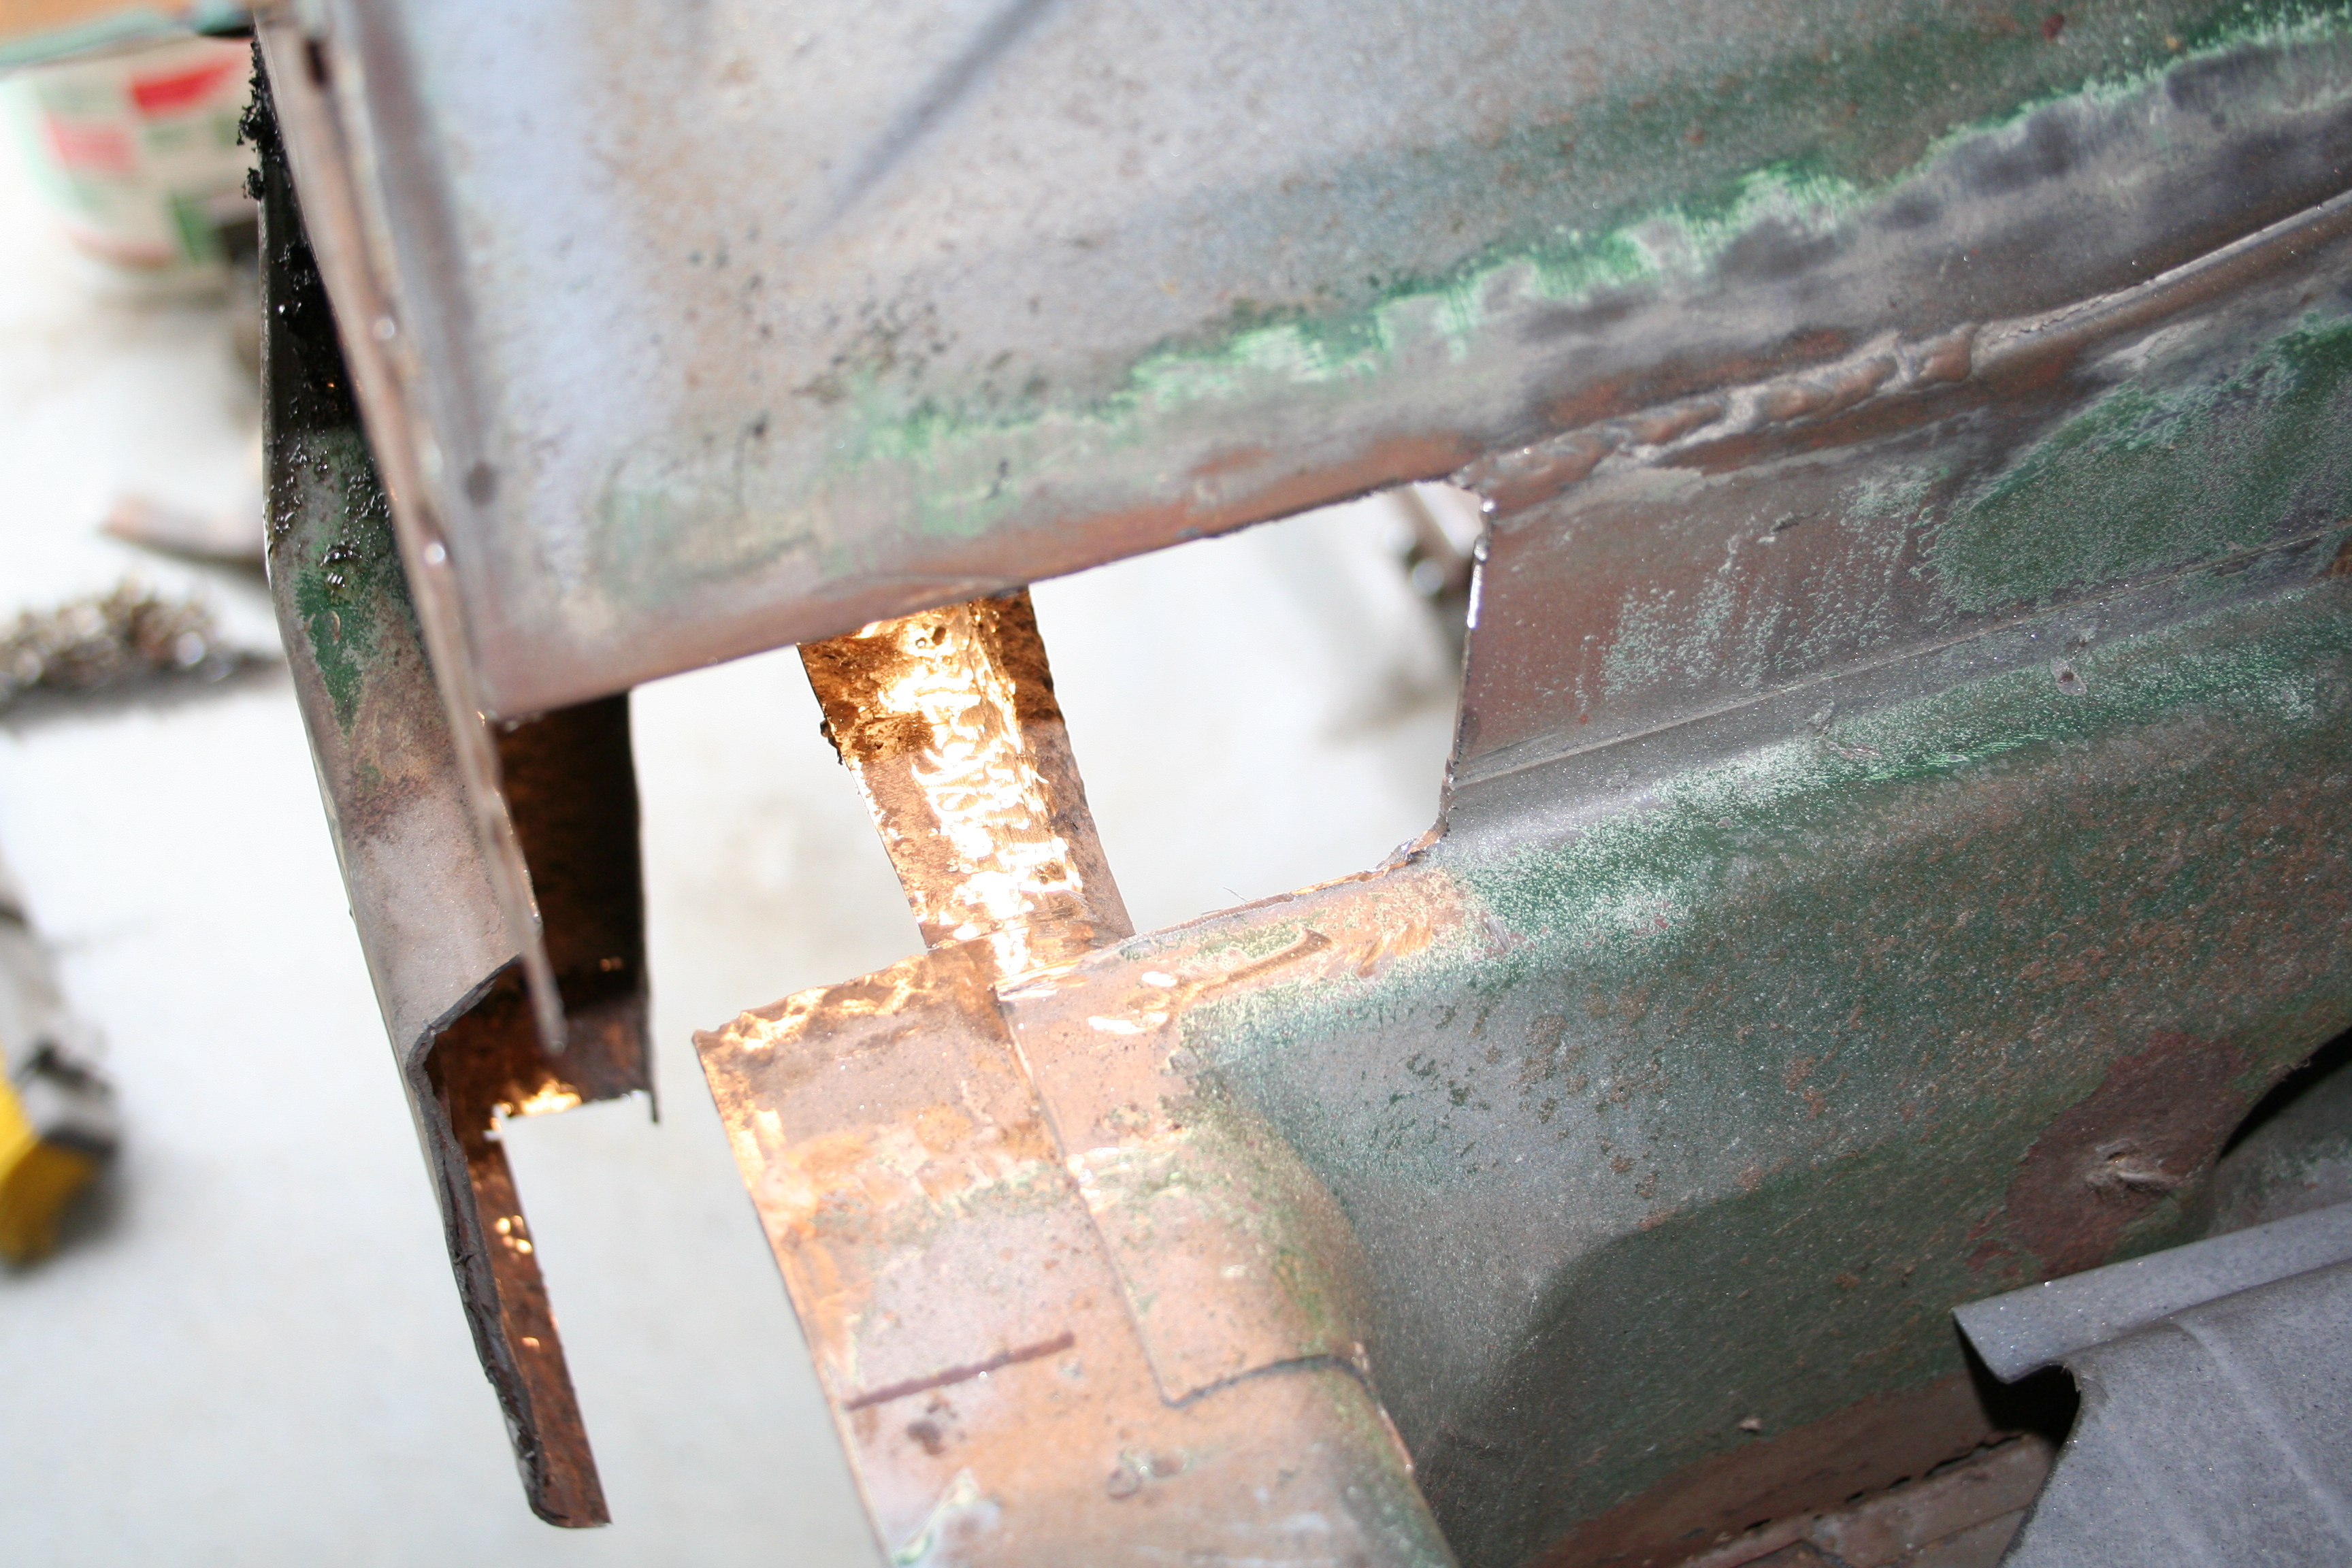
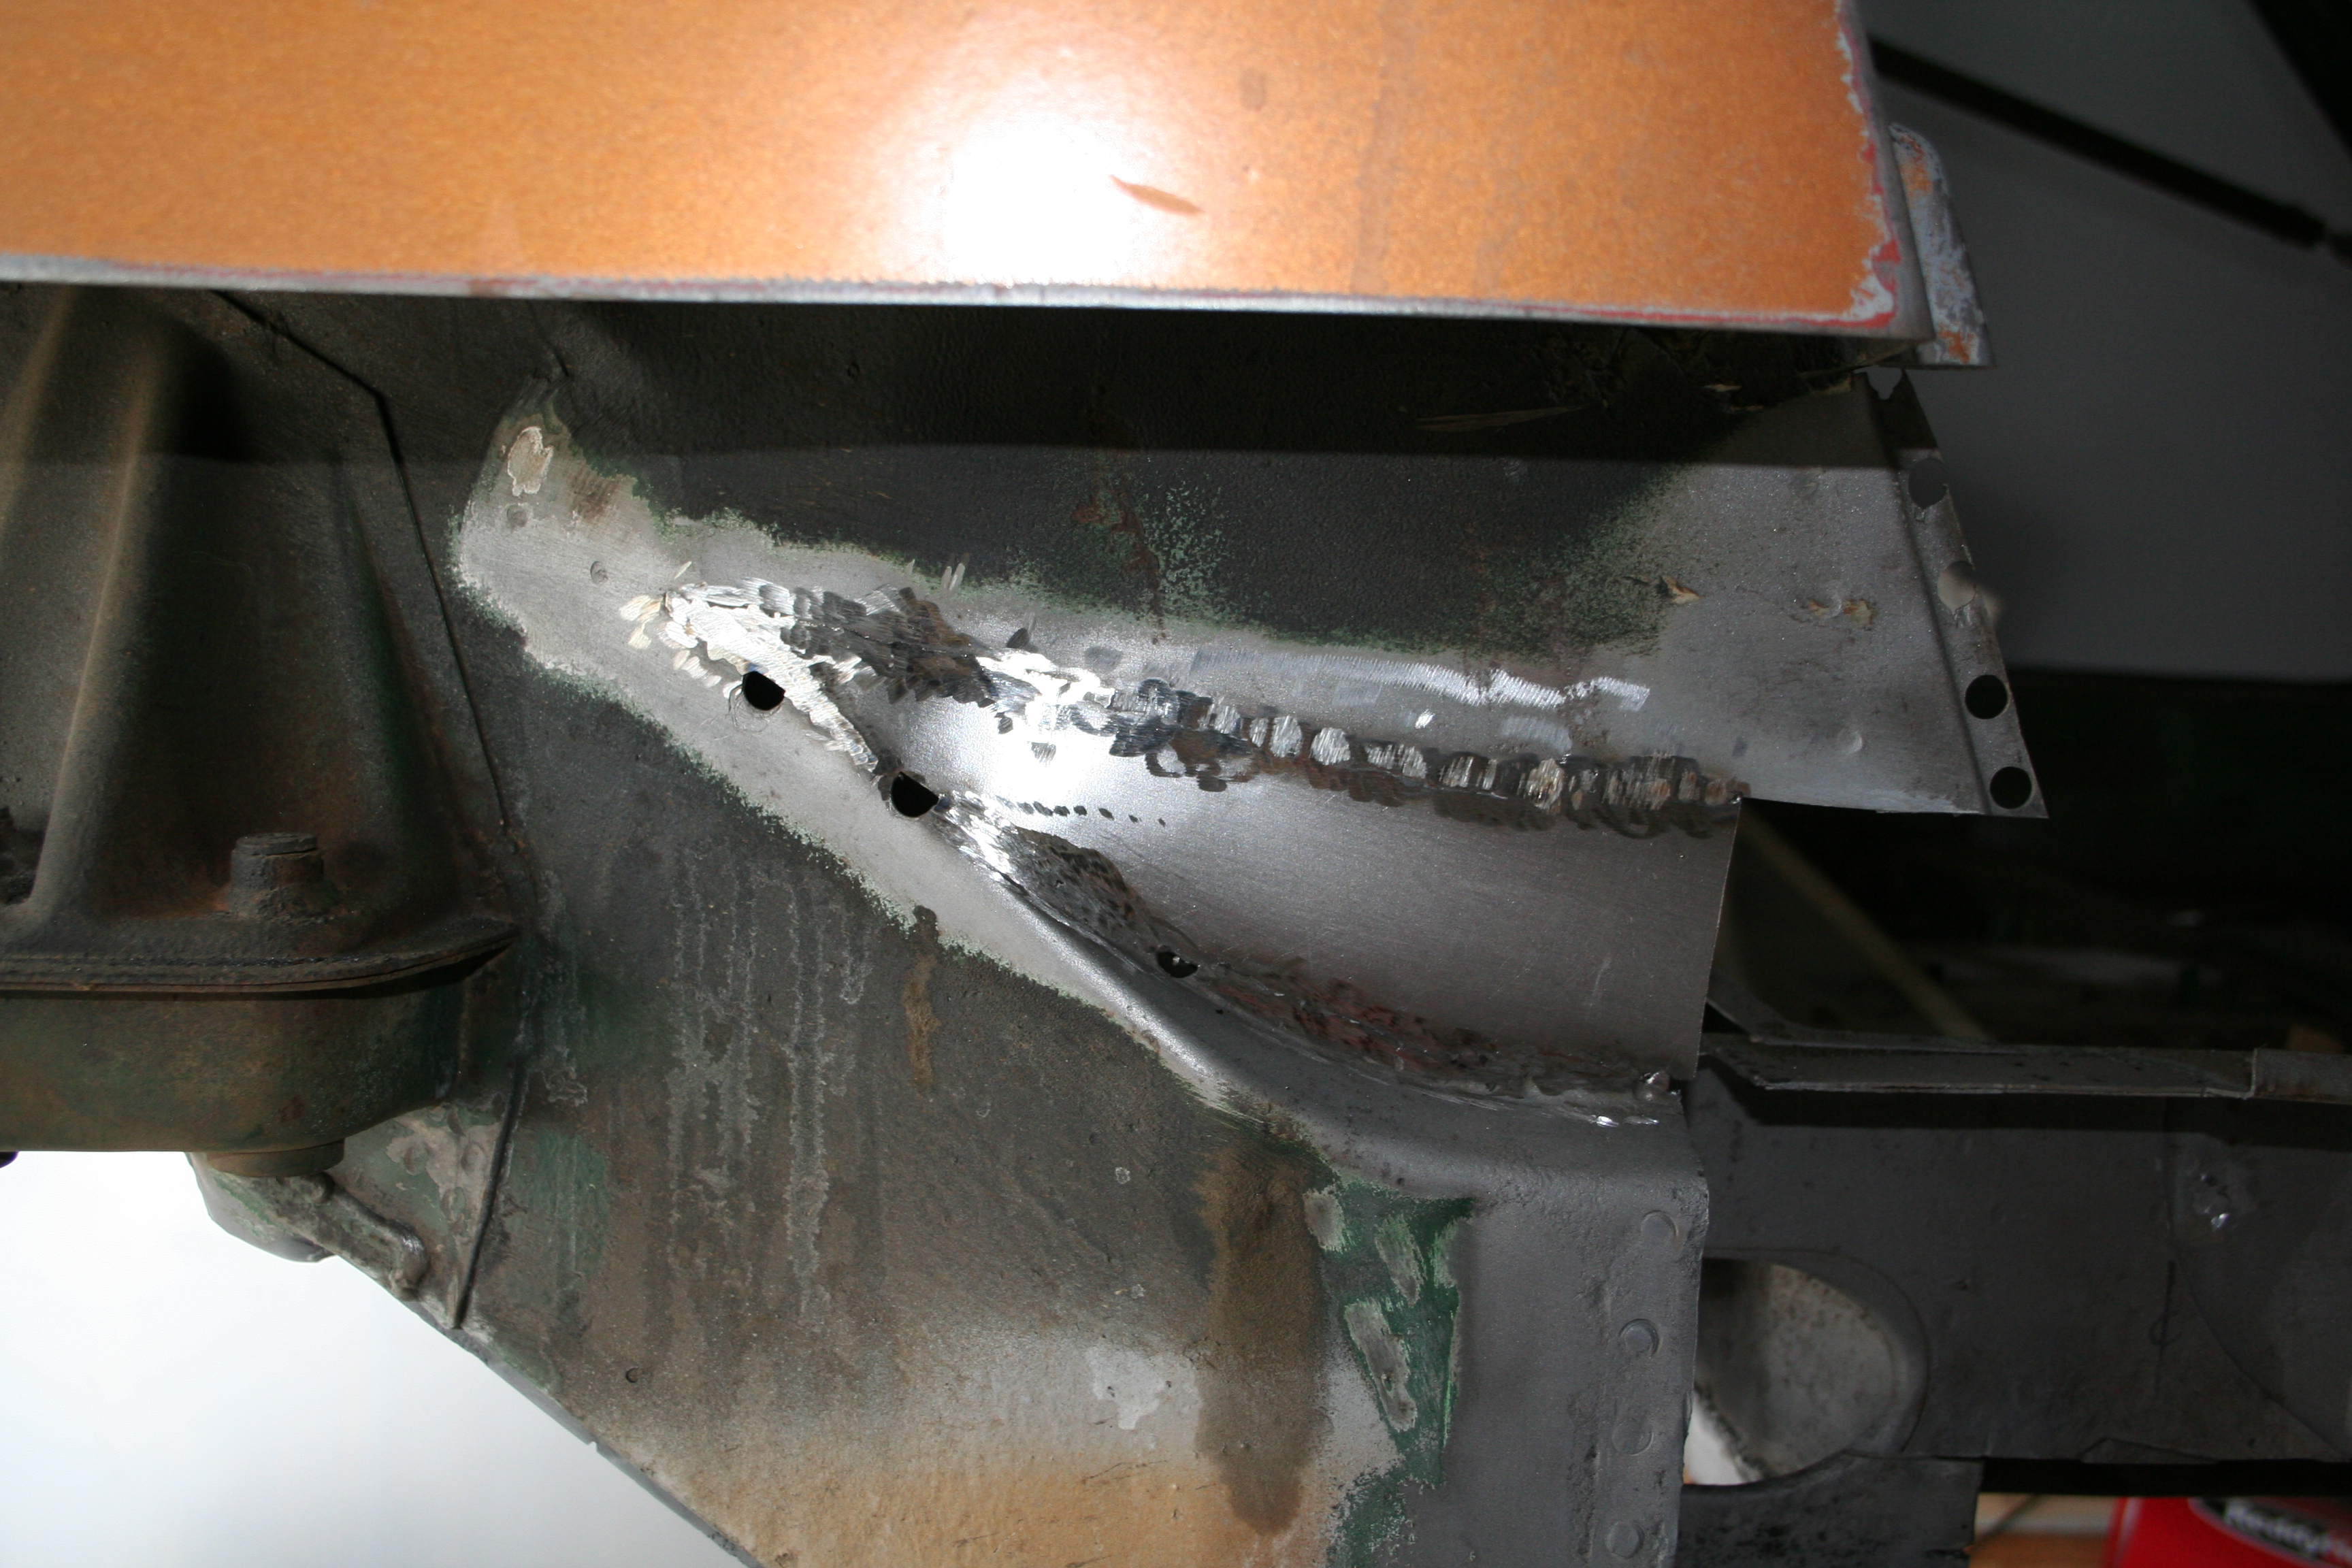
Photo was mostly to show batter tray are on inside. I am just about to cut this out. It is pitted and most likely can be treated and eventually hidden by the new tray, but I decided to cut it out and weld in a replacement. 4/6/2008This section wasn't too hard to fabricate. I am getting much better at my butt welding. I saw something on how they butt sections of F1 exhaust pipes. It was a revelation for me regarding getting nice fitment. I noticed that they would do a few tack welds and then hammer form to the spots they had yet to weld to ensure that there was as smooth transition from one piece to the next. I have started to do this and it is working wonders for me.
Test fit
Welded in place. Notice the places my spot weld bit created large holes. I created small patches and then welded those up.
This is not really in the Hell Hole, but it does show how I take very small patches and weld them into place. A previous owner had drilled holes here and bolted a fuel pump in at this location. 9/21/2008Section right below the Hell Hole. This also buts up against the patch for the suspension console. I fabricated the curved sections and welded them in using the standard rosette welds.
These have been about 90% ground down.
Flash rust on the section I welded in awhile back. But this shows a small patch in the Hell Hole that is the inner section. It will be covered by the final outer section. 10/5/2008I had fabricated the final Hell Hole patch awhile back, but didn't weld it in until today. No grinding of welds have been done on it. It went in very well and is a good fit. I am really happy with it. Next step is to grind down the welds, media blast this area as well as the replacement suspension console and then weld the suspension console in. I also need to get the battery tray ordered and welded in. Once all of that is done, I am going to clean, treat and paint the inside of the Hell hole with POR-15. Then I can button up the longitudinal. I am basically keeping the longitudinal open so I can continue to access the interior of the Hell Hole. I also re-welded the patch on the inner fender well. Originally it had been welded from the outside, but you could still see the seam on the inside, so I decided to weld the inside as well so once ground down you could not see the seam.
Flash rust on the big patch continues to get worse. :) But that will be cleaned up on final media blasting. |
|